
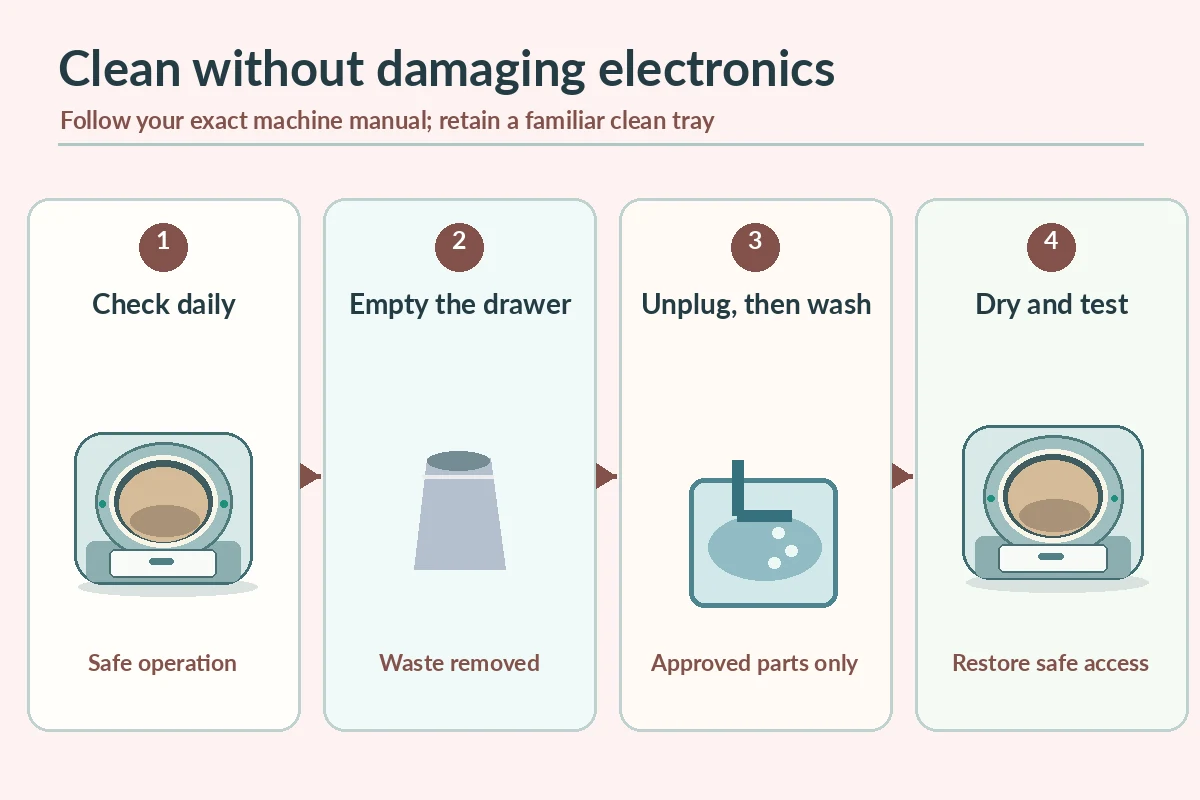
Automation removes some scooping but cannot replace emptying waste, inspecting sensors, or washing surfaces that collect residue. A robot may remove clumps after each visit, but waste still collects in a drawer, moisture can remain on surfaces, and sensors can accumulate dust. Treat the appliance as a litter box with moving parts rather than a no-maintenance gadget. Each day, check the cat’s access, condition of the litter bed, drawer position, and error indicators. Empty the drawer when needed, even if a marketing claim suggests long intervals. AAHA’s ordinary litter-box guidance supports regular waste removal and cleaning; the machine cannot replace watching how the cat uses the toilet.
Empty the waste drawer without making a mess
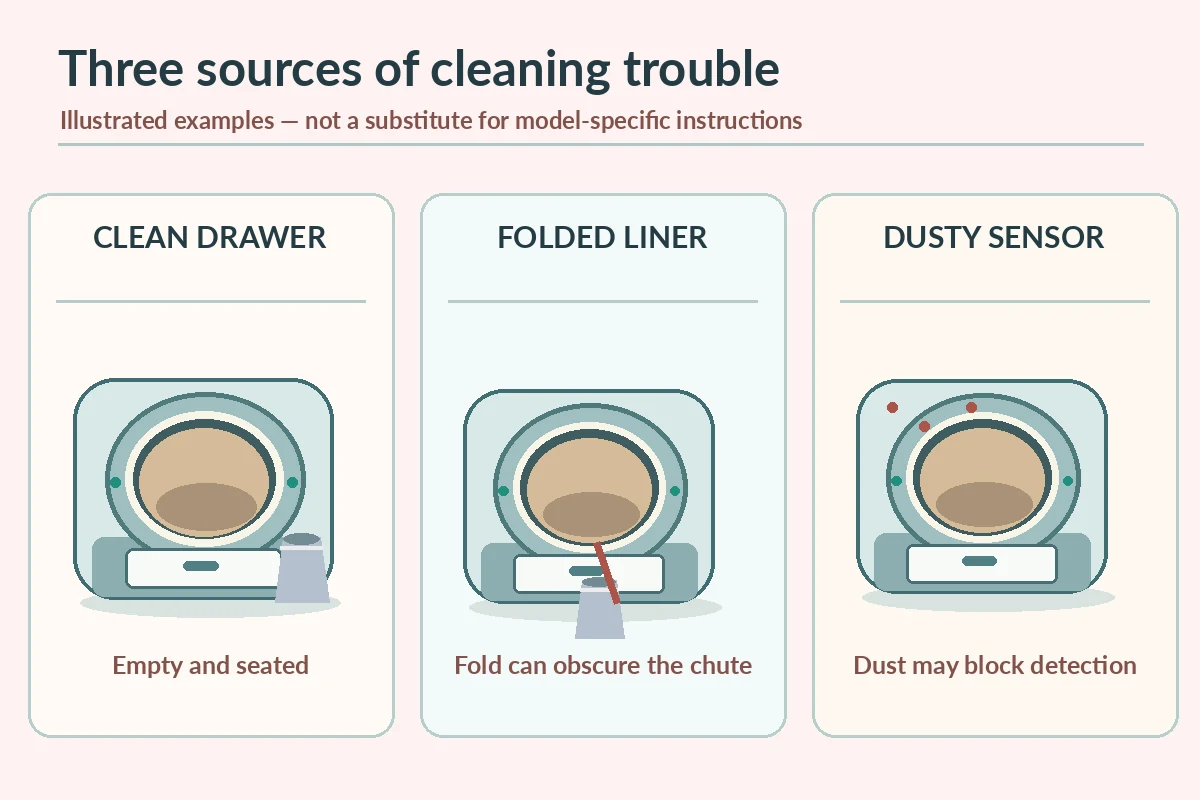
Stop or pause the device as its manual requires, then pull the drawer out smoothly with enough floor clearance. Lift a liner carefully so crumbs do not spill into the base. Bag waste securely and dispose of it according to local rules; do not flush litter unless the local wastewater authority and product permit it. Inspect the drawer’s lip and corners for retained wet litter before adding a fresh properly fitted liner. A loose or folded bag can obscure a sensor or obstruct a drop chute. Wash hands well after handling waste.
Clean the chute and seals before odor builds
Open waste chutes and gasket edges may collect residue even when the drawer looks empty. Use only the accessible parts and products permitted in your model’s instructions. Remove loose granules with a dry brush or soft cloth before wiping surfaces; do not scrape electronic openings with sharp tools. Check that a removable seal remains seated and is not fraying into moving parts. If a machine smells strongly despite a fresh bag, a stuck clump or dirty liner may be the cause. Avoid masking a mechanically dirty machine with strong fragrances.

Keep water away from the electronics
Before any disassembly, power down and unplug the unit according to its manual. Some machines have washable drums that detach from an electronic base; others include components that cannot be rinsed. Whisker’s cleaning documentation specifically distinguishes the washable globe from the base containing sensors and controls. Never immerse or spray a powered base, motor housing, or control panel. Apply any approved cleaner to a cloth rather than directly into sensor recesses. If you cannot identify what is safe to wash, stop and consult the exact manufacturer manual.
Use mild cleaning and dry parts completely
For approved non-electronic trays or drums, warm water and mild soap may be enough. Rinse well so cleaner residue and fragrance do not discourage the cat. Follow product-specific disinfection guidance rather than improvising mixtures. Never combine bleach with ammonia or other household cleaners. Let washed components dry completely before reassembly; residual moisture can make clay stick or cause debris to bridge sensor openings. Keep an accessible conventional litter box available while the robot is disassembled or drying. A cleaning routine should never leave the pet without somewhere to eliminate.
Handle sensor errors as maintenance clues
If the unit unexpectedly pauses or reports a full drawer, inspect liner placement, accumulated litter, loose fur, and any visible obstruction without bypassing protective sensors. Some manufacturers specify dry cotton-swab cleaning for exposed optical sensors; others forbid touching them. Follow those instructions exactly. A reset button is not a repair for a mechanical pinch point, damaged cable, or recurring fault. Do not leave an unreliable device in unattended automatic operation. If the error persists, contact the manufacturer and keep a manual tray available.
Choose filters and liners by fit, not promises
Carbon filters, drawer seals, and absorbent inserts may reduce some odors, but they do not make waste harmless or eliminate emptying. Confirm whether an accessory is approved for the exact model, how often it needs replacement, and whether it can block airflow or moving parts. Homemade scented pads and loose deodorizers can irritate cats or contaminate sensors. A poorly fitted liner may also cause an inaccurate fullness reading. Prioritize complete waste removal and a dry clean drawer before spending more money on optional odor-control add-ons.
Adjust maintenance to cat count and habits
A high-traffic box needs more frequent inspection and potentially a shorter drawer-emptying interval. Urine volume, litter type, room humidity, and which cats use the device all affect buildup. A common maintenance schedule from one manufacturer is not universal. Keep a simple notebook of service dates, liner changes, odor episodes, and error codes. If you notice a sudden increase in visits, discomfort, or abnormal elimination, do not assume it is merely a maintenance issue. Seek veterinary guidance for changes in the cat while keeping the equipment clean.
Make a safe restart checklist
After reassembly, verify that the drum or tray sits correctly, protective covers are secured, no cords are pinched, and the entrance is clear. Follow the maker’s reset and test sequence with no animal in the device. Confirm a normal ready state rather than dismissing warning lights. Return the automatic box to a stable location and leave a manually scooped alternative ready. Your standard should be simple: the cat can approach and leave comfortably, and the device cycles only as designed. A robot should save labor without hiding hygiene or safety problems.
How We Research
For this HubPet guide, we compared automatic litter box cleaning against published feline welfare guidance and model-specific operating instructions. We separated a machine’s documented capabilities from general assumptions and prioritized a cat’s voluntary use, normal exit access, and low-stress toileting. The original diagrams are illustrative, not photographs, certifications, independent hardware stress tests, or endorsements. This guide does not claim that a particular product is risk-free. Compare the current manual for the exact device and consult your veterinarian about individual toileting concerns. Read more about our editorial approach on About HubPet.
Sources
Whisker, Litter-Robot 4 Deep Cleaning Guide: Read source. Reviewed October 27, 2026.
Whisker, Litter-Robot 4 Laser Sensor Cleaning Instructions: Read source. Reviewed October 27, 2026.
AAHA/AAFP, General Litter Box Considerations: Read source. Reviewed October 27, 2026.
CDC, Toxoplasmosis Prevention: Read source. Reviewed October 27, 2026.
Safety note: If your cat strains, repeatedly attempts to urinate with little or no urine, shows pain, or suddenly stops normal toileting, seek prompt veterinary care. This is general education, not veterinary diagnosis. See our veterinary disclaimer.
Inspect it daily and empty whenever needed. Actual frequency depends on cat count, waste volume, liner placement, and your exact device.
Only if the manual explicitly permits washing a detached non-electronic part. Never spray or soak the electronic base or control panel.
Residue in the waste chute, gasket, or drum, damp litter, or poor sealing may remain. Inspect accessible areas using the manual.
Avoid unapproved fragrances or loose additives near sensors and moving parts. Cleaning, dry liners, and approved parts come first.
Stop unattended operation, use a backup tray, check only manufacturer-approved maintenance items, and contact support for unresolved faults.