
This article offers general grooming and household safety information, not veterinary diagnosis or treatment. Stop when a pet is frightened or in pain; contact a veterinarian about bleeding, swelling, embedded or torn claws, or sudden changes in movement. Read our veterinary disclaimer.
Manufacturers often market small dog nail clippers by breed or weight, but the part that matters most is the nail in front of you. A toy dog’s thin claw can be difficult to position in a bulky cutting jaw, while an undersized tool can feel unstable in an adult hand. VCA and ASPCA emphasize controlled, small trims and avoiding the quick. Here is a practical way to inspect a clipper’s opening, blade, and handle before deciding whether it is suitable. No clipper, built-in light, or safety stop can guarantee that you will avoid living nail tissue.
Compare the cutting opening to the actual nail
Look at the open blades and the available space for one nail, not just the package photo of a little dog. The nail should enter without force and sit where the cutting edges are easy to see. A jaw that barely admits the nail can cause you to press too hard before you have a clear view. A much larger jaw may obscure a narrow tip, making it harder to take a conservative amount. Measure or photograph the tool beside an ordinary object for scale when shopping online. Do not use a published millimeter capacity as proof of safety; individual nail shapes and the angle of entry vary.
Understand scissor and plier handle shapes
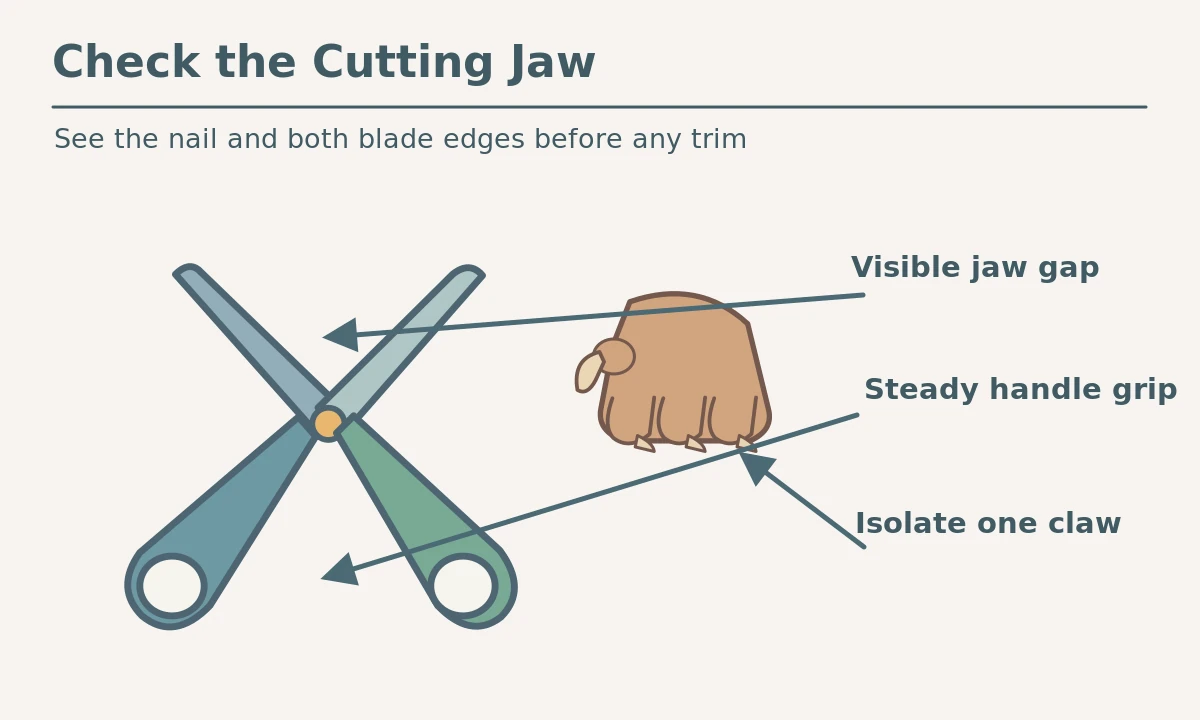
Scissor-style clippers have two finger loops and a familiar closing motion; plier-style models use spring-loaded handles and a different grip. Neither is always best for tiny dogs. Try the closing motion without a pet first. Your hand should not shake while you align the jaws, and the cutting edges should meet smoothly. Some people can control short handles better; others need more palm support. Consider whether a spring pushes the grip open in a way that strains your hand. A tool you cannot control quietly and precisely does not belong near a live nail, even if it carries a small-breed label.
Inspect blade alignment and material condition
Open and close the clipper under a lamp. Look for chipped edges, rust, loose pins, or blades that separate sideways when pressed. The cut should be clean and predictable, not a crushing squeeze that twists the nail. Manufacturer instructions specify whether you can replace or clean a blade; follow them rather than sharpening an unknown blade at home. Test the motion on a piece of uncooked pasta or similar practice item before introducing it near the dog. Store the tool closed and protected from children. A safety lock helps with storage but is not a substitute for keeping fingers and paws clear of the jaws.
Make the cutting line visible
The quick contains nerves and blood vessels. It may appear pink through a light-colored nail, but it is harder to judge in dark nails. Good room lighting, stable positioning, and taking off only a tiny tip are more reliable than an LED advertised as a quick detector. A built-in light may improve visibility for a particular user, yet it cannot reveal every quick. Position yourself so you can see the blade, nail tip, and the dog’s body signals at once. Stop if you lose the view or the dog repeatedly pulls away. Ask a professional to demonstrate nail anatomy on your dog before attempting a difficult nail.
Use a nonslip surface rather than tight restraint
A tiny dog can still panic, slip, or injure a paw during handling. Place a nonslip mat on a low, secure surface. If the dog voluntarily stands on the mat, gently support one paw within its normal range. Never suspend a dog by a grooming hammock or clamp the torso to finish a trim. Reward an easy paw touch, then put the tool away before the dog becomes fearful. If your dog has a history of biting during grooming or a painful toe, involve the veterinary team instead. The correct clipper is the one you can control while the dog remains comfortable, not the one that promises the shortest session.

Compare a fine tip with a crowded cutting jaw
A close-up comparison should show a narrow claw centered between visible edges and a second claw hidden behind an oversized or poorly aligned jaw. The safer-looking drawing illustrates visibility, not a cutting depth recommendation. A cutting guide that covers the tip may hinder rather than help with a very small claw. Watch for the blades pinching fur or adjacent toes. Position the claw alone in the opening, using gentle support. If you cannot isolate the nail easily, do not guess. This difference is more useful than comparing marketing terms such as salon-grade or professional-strength without specifications.
Clean and store between sessions
Wipe the tool according to manufacturer directions and dry it before storage. Check the hinge and blades before every use, especially after you drop a clipper. Keep the mechanism protected from water if the product has a light or other electronics. Replace a dull or damaged tool rather than using extra hand force. If you share grooming equipment among animals, clean it appropriately between pets and seek veterinary advice when a nail or paw shows signs of infection. Keep your dog’s nail-care log focused on which claws your dog let you handle comfortably, not how many you forced through in a single session.

Run a three-part fit test before cutting
First, inspect the closed and open clipper away from the dog: aligned blades, sound hinge, no sharp exterior edges. Second, practice a few slow closures while you hold the handle normally; you should maintain a steady view of the cutting gap. Third, introduce the stationary tool during an easy, reward-based handling exercise without clipping. Only proceed to an actual tiny tip trim when you know the nail anatomy and the dog is relaxed. Stop at the first strong avoidance signal. If you are uncertain, bring the tool to your groomer or veterinarian and ask whether its jaw size and grip suit your dog’s paws.
How We Research
We compared original veterinary and animal-welfare information from ASPCA, VCA Animal Hospitals. We checked the difference between ordinary maintenance and signs requiring individual care, and focused on visible, repeatable checks rather than unverified product claims or fixed cut depths. The drawings are general explanations, not veterinary measurements or hands-on equipment tests. The instructions do not replace a veterinarian or experienced groomer showing the technique on your own pet. Learn more about our approach at About HubPet.
Sources
ASPCA, Dog Grooming Tips. Read the original guidance.
VCA Animal Hospitals, How to Trim a Dog’s Nails at Home. Read the original guidance.
VCA Animal Hospitals, Handling Exercises for Trimming Nails and Brushing Teeth. Read the original guidance.
Safety note: An embedded or torn nail, significant bleeding, a painful or swollen toe, or marked changes in walking warrants veterinary help. Do not restrain a distressed animal to finish grooming or guess where the quick ends. A professional can demonstrate safe positioning and individual next steps.
Not universally. Choose the handle and blade shape that give you a clear view, steady closing control, and a suitable opening for the nail.
No. An opening that is too narrow or a handle you cannot operate steadily can be harder to use than a slightly larger well-controlled tool.
No light guarantees quick detection, especially in dark or thick nails. Learn the anatomy and take conservative steps with professional guidance.
Inspect for rust, chips, loose hinges, or edges that meet unevenly. Replace a defective tool rather than increasing hand pressure.
Only if the dog remains calm and the cut line is clear. One comfortable nail may be a better session than forcing the whole job.