
This article provides general vehicle-accessory and pet-care information, not a crash-test certification or veterinary advice. Follow your vehicle and restraint manufacturer instructions. For individual pet health or travel concerns, consult your veterinarian. Read our veterinary disclaimer.
A pet carrier can keep a small dog or cat confined during vehicle travel, but only if the carrier and vehicle are suitable and the owner follows the carrier installation instructions. A loose carrier can slide or tip during abrupt braking. The right belt route depends on the specific carrier, and a handle is not automatically an attachment point. This guide covers stationary fit checks, access to the latch, airflow, and routine pre-trip inspection. It does not invent a universal belt-routing diagram: always follow the exact carrier and vehicle manuals.
Start with a travel-rated carrier and proper size
Select a carrier intended for vehicle use, then read its installation instructions before putting an animal inside. ASPCA and AVMA emphasize a secure carrier with sufficient space for a pet to stand or sit normally, turn around, and lie down. Check doors, hinges, shell junctions, and closures for damage. A flexible tote or open-top basket may be convenient on foot but may not suit driving. Claims of crash testing require independent documentation for the exact model and size, not just a broad product family.
Choose a back-seat position that fits the vehicle
Inspect the seat contour, belt buckle location, headrest, and space behind the front seat. The carrier should rest level and not protrude toward a door that cannot close properly. Confirm that the rear seatback locks into its normal position. Follow carrier instructions for orientation; some models specify a particular direction or seat placement. Do not place a carrier in the front passenger area with an active airbag. A more convenient viewing angle is not worth violating restraint directions.
Locate the manufacturer-authorized restraint path
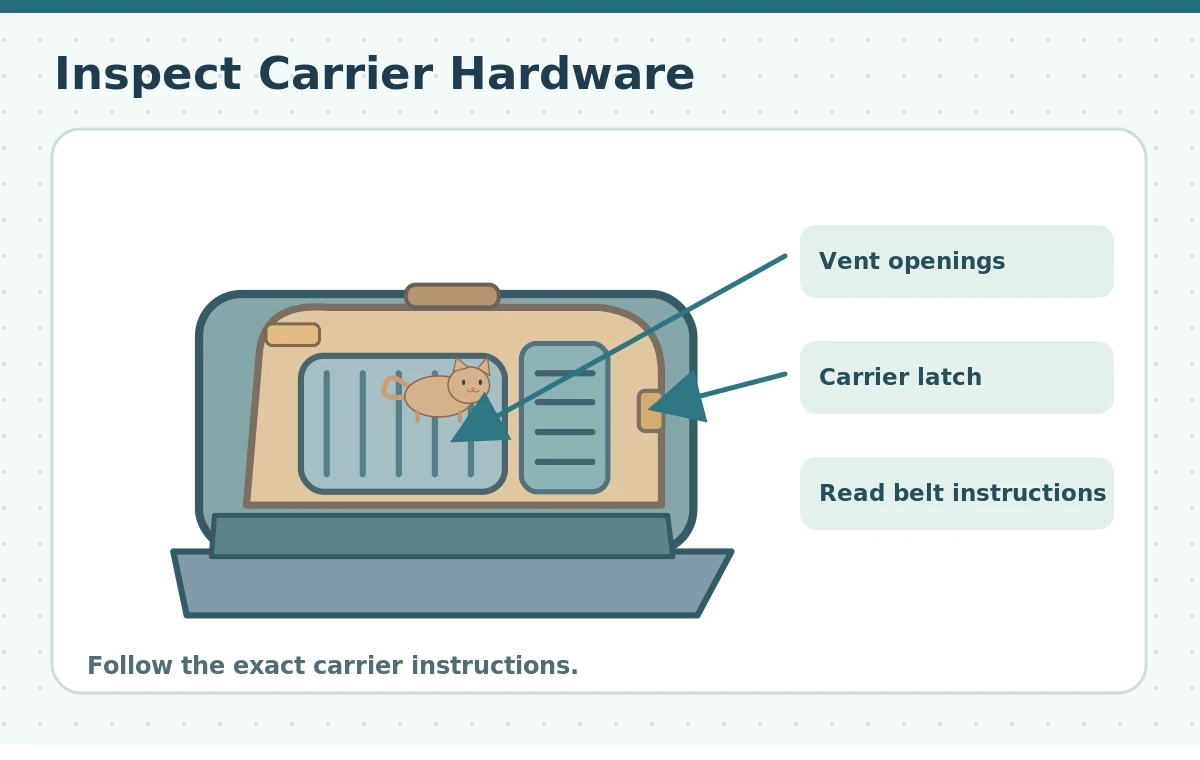
Some travel carriers have dedicated belt channels, straps, or integrated connectors. Others require a compatible base or separate approved restraint system. Use only the documented path for your exact model. Do not thread a car seat belt through a carry handle, vent slot, mesh opening, or random loop unless the manufacturer explicitly directs that route. Keep the belt flat and untwisted. The purpose is to prevent movement as designed; a tight improvised connection can damage the carrier or create dangerous forces.
Check base stability before putting in your pet
Install the empty carrier first and follow the product tension and connection sequence. Apply a gentle stationary check in the directions specified by the manufacturer. The base should not rock excessively, tilt toward the footwell, or slide over loose covers. Do not wedge towels or foam under it unless approved. A protective seat cover may change friction and interfere with belt access, so assess the carrier against the actual seat. If stable installation is not possible, use another approved configuration.
Protect access to the carrier door
Position the entrance so an adult can reach the latch while the vehicle remains stationary without reaching across the driver’s controls. The carrier door should close completely and not press into upholstery or a seat belt. Check its latch twice before loading the pet. If you need to adjust a front seat to allow access, do so before driving and check that neither the carrier nor restraint touches powered seat mechanisms. Never open the carrier while driving to comfort a distressed animal.

Keep air holes free on all relevant sides
Follow the required clearance around the carrier vents. A towel draped over a mesh window can obstruct airflow, and a close-fitting seat cover may block a lower vent. Maintain a comfortable cabin temperature and position airflow so it reaches the carrier without blasting a pet. Merck and AVMA recommend acclimation to short rides before longer travel. If your animal is panting, struggling to breathe, or seems ill, seek prompt veterinary advice and a safe stopping place rather than opening the door during traffic.
Acclimate the animal without forcing entry
Introduce the carrier at home with the door open, familiar bedding if safe, and voluntary exploration. Reward a calm approach and short time inside. Then practice closing the door briefly before taking short, uneventful car rides. Do not force a frightened pet into repeated prolonged trips as a training method. A pet with severe travel distress may need veterinary behavioral advice. A secure carrier works best when the animal can settle comfortably instead of fighting the door or chewing the straps.
Compare rigid and soft carriers cautiously
Rigid shells may offer defined structure and more predictable placement, while some soft-sided carriers fold or shift in a vehicle. The construction alone does not prove crash safety. Look for verified testing or documentation relevant to the exact product and size. Check whether the manufacturer permits a seatbelt method for that model. A low-cost carrier with no car-installation instructions does not become appropriate for car travel through improvisation. The best choice balances fit, ventilation, closure strength, and specific securement instructions.
Run the same check before every departure
With the engine off and brakes engaged, confirm the carrier restraint path, belt tension, door latch, rear seat position, and ventilation clearance. Check that no strap crosses a hinge or pinch point. Keep loose supplies secured elsewhere so they cannot strike the carrier. Maintain identification on the animal and carrier as appropriate. Schedule safe stops for long drives. Never leave the pet alone in a vehicle, even if the carrier looks shaded or the weather seems mild.

Know the conditions that require another plan
If the vehicle lacks an approved installation location, the carrier has damaged latches, or the belt route is unclear, do not guess. Consult the manufacturer or choose a different compatible travel product. A carrier simply sitting on a car seat is not necessarily restrained. A pet should not ride on a person’s lap, and a belt around the carrier’s middle is not a universal solution. Use current instructions and evaluate the complete system rather than relying on a general illustration or anecdote.
How We Research
HubPet compared recommendations from veterinary and animal-welfare organizations, along with principles of vehicle compatibility and ordinary accessory upkeep. We distinguish upholstery protection, sun reduction, and surface grip from devices intended to restrain a pet during a vehicle crash. Specific routing, fit, allowable attachment points, and safety equipment depend on the vehicle and product manuals. This article does not independently crash-test accessories or certify any brand. Our original illustrations demonstrate inspection concepts, not a universal vehicle installation. Read more about our editorial research approach.
Sources
AVMA: Traveling with your dog or cat — source guidance on secure pet travel, ventilation, or restraint limitations.
ASPCA: Travel safety recommendations for pets — source guidance on secure pet travel, ventilation, or restraint limitations.
Merck Veterinary Manual: Traveling by Car With Pets — source guidance on secure pet travel, ventilation, or restraint limitations.
AKC: Dog Car Safety Training — source guidance on secure pet travel, ventilation, or restraint limitations.
American Red Cross: Pet Travel Safety — source guidance on secure pet travel, ventilation, or restraint limitations.
Only when the manufacturer explicitly instructs that route for the specific carrier. Handles are not universal belt anchors.
Follow the carrier and vehicle guidance; avoid an active front-passenger airbag. The approved rear-seat location varies by product.
Only if the carrier instructions permit it. Extra material can change how a base sits or how restraint tension is maintained.
No. Check the exact product’s vehicle installation instructions and any specific independent crash-test documentation.
Stop and recheck the documented installation method. If it cannot be installed securely, choose another approved setup.