
A puppy harness may look simple on a product page, but growing bodies make fit a moving target. A strap that sits comfortably today can rub an elbow next week, while a heavy leash clip can pull a tiny puppy off balance. Start with measurements and movement, not age labels or claims of a universal fit. If your puppy shows pain or breathing changes, stop using the equipment and seek veterinary advice; see our veterinary information disclaimer.
This guide focuses on the first harness purchase and the repeated adjustments that follow. VCA advises a comfortable fit that leaves front legs free to move, while RSPCA recommends checking a puppy’s fit several times a week. Neither organization suggests using pressure or leash corrections to teach walking.
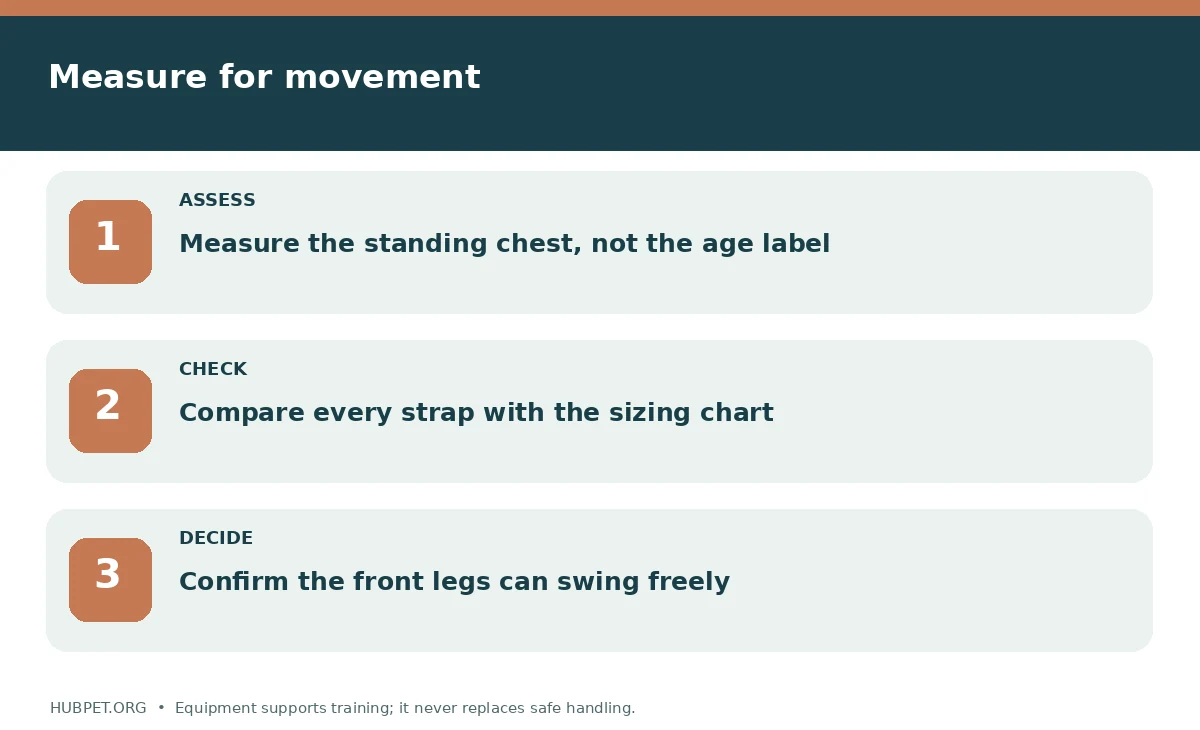
Measure the puppy standing naturally
Use a flexible tape to measure the broadest part of the chest just behind the forelegs. Note the lower neck or harness neckline if the design requests it. Keep the tape level without squeezing fur. Record the date and your puppy’s weight so the measurements make sense at the next fitting.
Do not buy by breed or the label small alone. Two puppies of the same age can differ in chest depth, neck width, and growth rate. Compare your measurements with the actual product size chart, including the minimum and maximum adjustment on every relevant strap.
Choose a shape that clears the shoulders
Look for a design that lies on the chest without running across the front of the shoulder joint. Watch the puppy walk, turn, sit, and sniff in a calm room. The forelegs should extend normally, and the girth strap should not rub tightly against the armpits.
VCA cautions that some harness shapes can restrict movement or cause chafing. Decorative padding does not fix badly positioned straps. Check the seams from underneath as well as from above; a snug-looking vest can hide a rough edge that only appears once the puppy moves.
Match hardware weight to a small body
Lift the leash clip and buckles in your hand before putting the gear on the puppy. Heavy metal hardware may drag the harness sideways on a very small puppy. Inspect plastic releases for sharp edges and make sure each buckle clicks fully without pinching skin or fur.
A very light harness still needs sound stitching and a secure attachment point. The label on a clip does not guarantee strength. Inspect connection points each time you dress the puppy and replace gear if a buckle cracks, stitching separates, or the fabric stretches out.
Use a gentle two-stage fitting test
First, adjust the straps while the puppy stands calmly on a nonslip surface. You should be able to fit fingers under a strap without leaving a gap wide enough for an elbow or shoulder to slip free. Finger rules are only a quick screen because strap width, coat, and body shape vary.
Second, attach a short fixed leash indoors and invite a few slow steps with treats. Look for slipping at the chest, rotation around the ribs, or a front leg stepping through the neckline. Any of these means the harness needs adjustment or a different design.
Introduce the harness before the outing
Set the harness on the floor and reward curious approaches. Let the puppy touch the opening with the nose voluntarily; then briefly drape or fasten the gear and remove it before the puppy becomes upset. Work in short sessions and give the puppy an easy exit.
A freeze, frantic scratch, flattened posture, or repeated escape attempt is information, not stubbornness. Pause and return to an easier step. AVSAB recommends reward-based teaching; avoid dragging a puppy forward, tugging the gear tight, or forcing a fearful puppy into an unfamiliar street.

Watch fit as the puppy grows
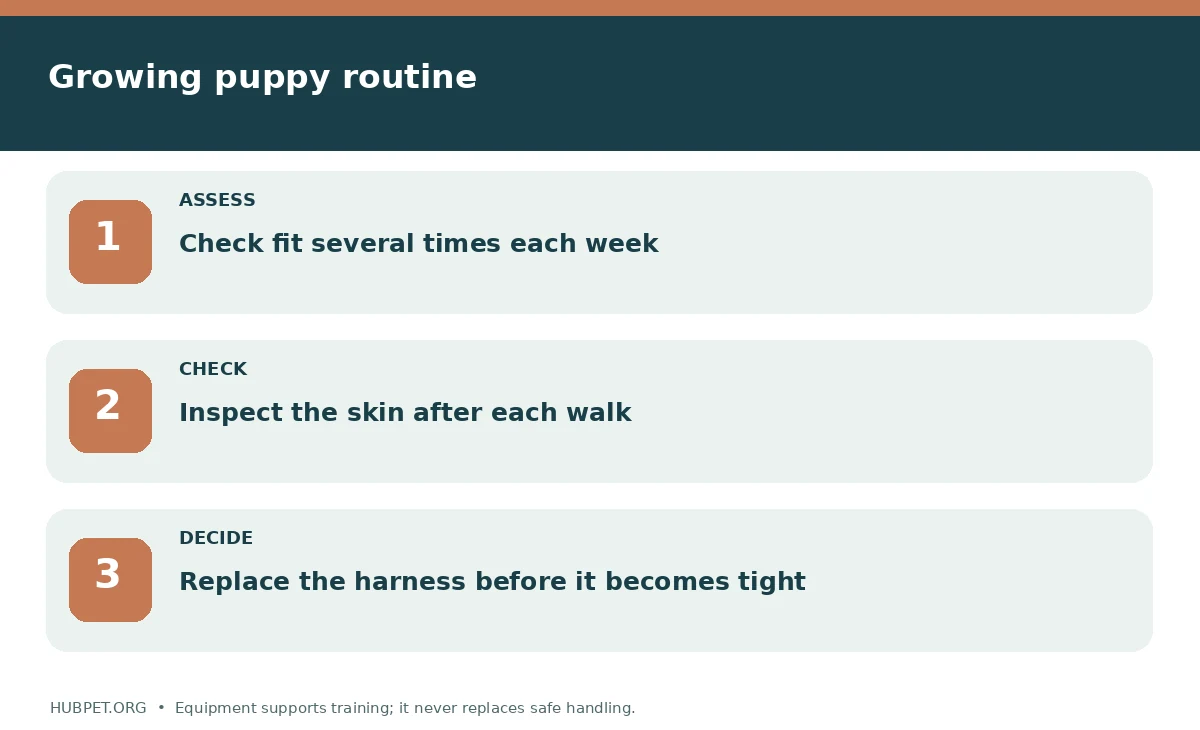
RSPCA notes that puppies grow quickly and equipment may need checks several times a week. Keep a reminder to inspect the chest, neck, and armpit areas after walks and after a noticeable growth spurt. A harness that reaches its widest setting is not future-proof.
Do not leave a growing puppy in a harness unattended or overnight. Straps can snag, become too tight, or invite chewing. Remove it after the walk, inspect for worn areas, and store it away from teething mouths.
Use predictable first-walk equipment
Start with a simple fixed-length leash that is light enough for the puppy and long enough to allow sniffing without constant tension. Avoid a long dragging line near traffic. Keep identification current and use a securely fenced area to practice stopping, turning, and coming closer.
A harness does not teach loose-leash walking by itself. Reward a step toward you, offer sniff breaks, and shorten outings when the puppy becomes tired or overwhelmed. The goal is a comfortable association with movement and the gear, not a perfect heel position.
Troubleshoot common fitting failures
If the puppy backs out, check whether the chest strap rides forward when the dog reverses. When one side twists, look for asymmetrical adjustment or a very heavy clip. If the puppy bites the harness every time, shorten the dressing routine and make it more rewarding.
Repeated coughing, sudden limping, marked reluctance to move, or irritated skin deserves veterinary review rather than a tighter fit. If escape persists despite careful adjustments, consult a qualified reward-based trainer and choose another harness geometry before walking in open areas.
Separate identification from restraint
A walking harness does not replace a readable ID tag or a current microchip registration. Keep identification details up to date as the puppy grows. Some puppies wear a lightweight flat collar for identification, but it should not cause coughing or discomfort under leash tension. Follow local identification requirements and supervise wearable equipment.
Take a photo of the fitted harness and record its size while the puppy is calm. The record helps you spot growth-related changes rather than guessing by memory. It also helps you explain a fit concern to a veterinarian or qualified trainer if the puppy develops rubbing or refuses to walk.
Make the final purchase check practical
Write down the standing chest measurement, safe adjustment range, shoulder clearance, clip weight, and return policy. Try the harness indoors over several short sessions before removing packaging tags where possible. Keep receipts because an apparently well-sized harness may fail the movement check.
The best first harness is the one you can fit correctly, inspect quickly, and replace when the puppy outgrows it. Recheck after every major growth change. Save training time for teaching skills rather than fighting a fashionable design that does not suit the body.
How We Research
HubPet reviewed accessible veterinary and animal-welfare guidance about puppy harness. We distinguished published equipment and handling advice from marketing claims without independent measurement. This guide reports desk research, not product testing or endorsements; HubPet did not conduct hands-on evaluations. We reviewed the references on October 26, 2026. See About HubPet and our editorial approach. For individual health and behavioral concerns, seek professional guidance.
Sources
VCA Animal Hospitals: Collar and Harness Options for Dogs. Accessed October 26, 2026.
RSPCA Knowledgebase: What Equipment Should I Use When Teaching My Dog or Puppy to Walk on a Leash?. Accessed October 26, 2026.
VCA Animal Hospitals: Controlling Pulling on Walks. Accessed October 26, 2026.
American Veterinary Society of Animal Behavior: Position Statements: Humane Dog Training. Accessed October 26, 2026.
Check strap fit at least several times a week during rapid growth and remeasure after each noticeable change.
No. The shape matters less than clear shoulder movement, comfortable straps, and escape resistance during a supervised fit test.
Remove walking gear when you cannot directly supervise the puppy to reduce snagging and chewing risks.
No. It should stay secure without compressing the chest or rubbing the armpits; observe the puppy moving.
Not by itself. Reward-based practice teaches the walking behavior while appropriate gear supports comfort.