
This article provides general pet-care information, not individual veterinary advice. For painful mats, skin changes or sudden grooming intolerance, consult your veterinarian. See our veterinary information disclaimer. Plastic or metal guide combs clip over some pet grooming blades to leave a longer coat. They are not universal safety shields, and a guard that fits one blade system might not lock onto another. Dense mats can stop the teeth from passing through even when the guard looks secure. Before any trimming, confirm the exact clipper and blade compatibility in the manufacturer’s guide. Check how the attachment locks while the device is switched off. This article explains the visible fit checks and common problems, not a do-it-yourself haircut for a frightened or matted dog.
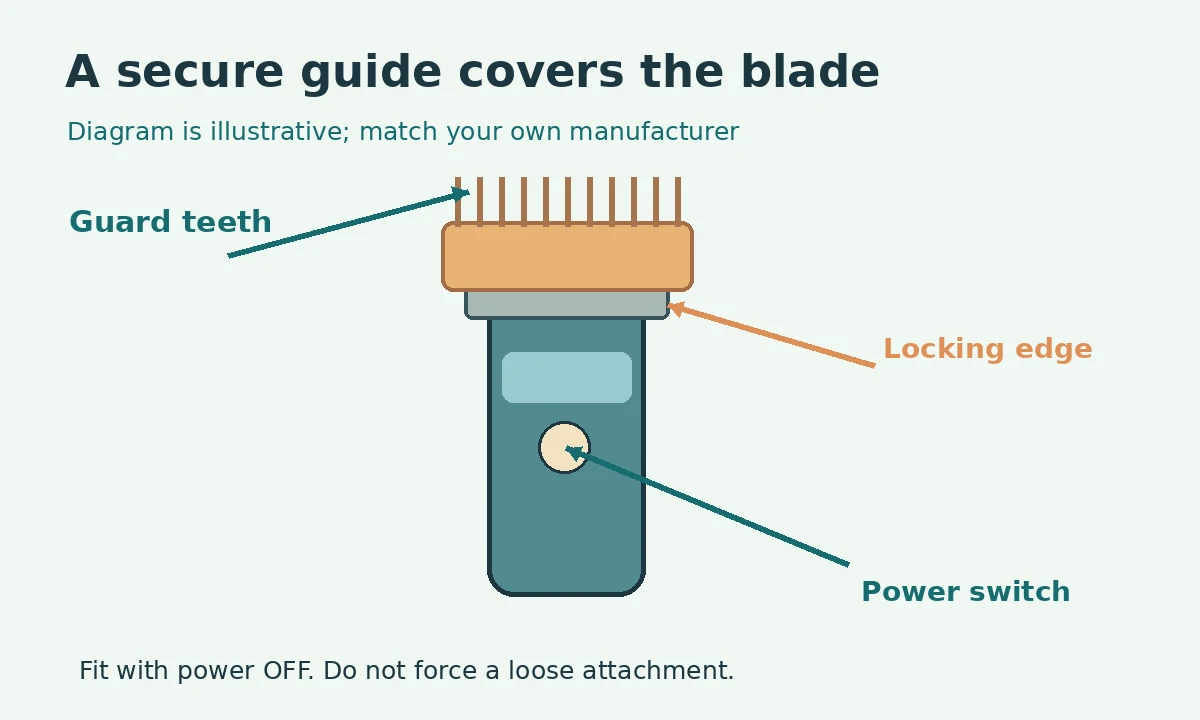
Match the comb to the actual blade
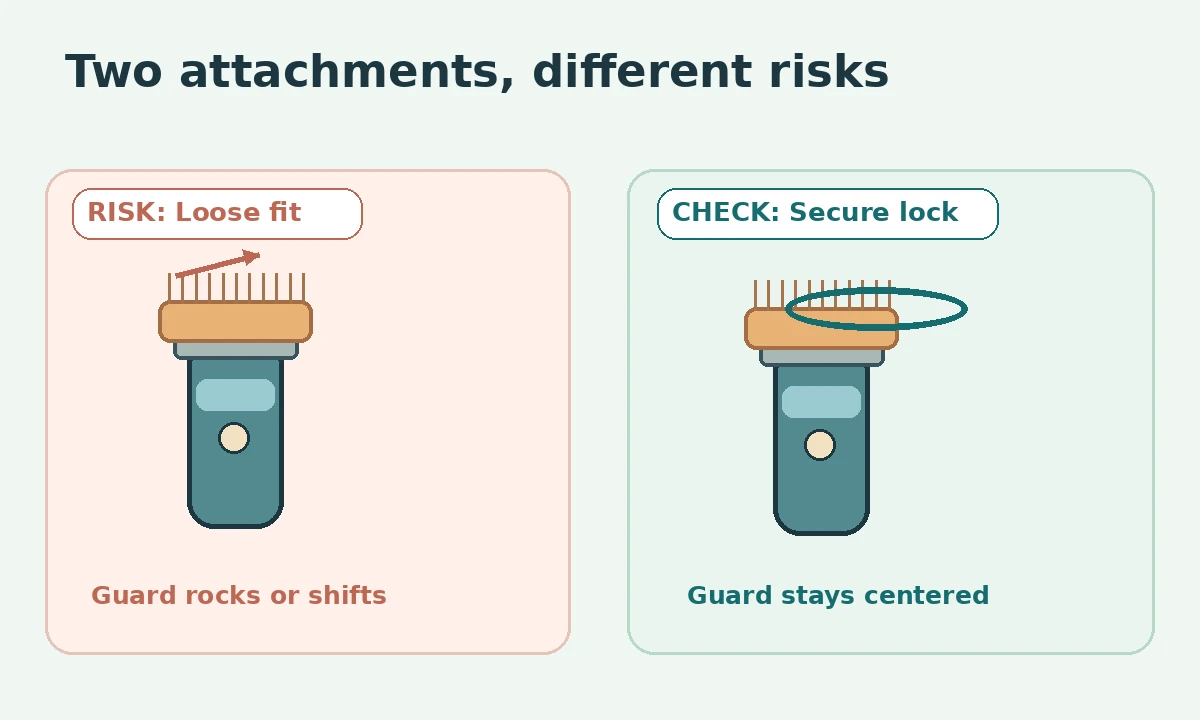
Read the model instructions instead of trusting a generic online compatibility label. Some guards snap over a particular detachable blade; others depend on a different blade width or tooth profile. Lay the powered-off clipper on a stable surface with its teeth facing away from fingers. Compare the clip-on points, side rails and blade coverage. If the guard rocks or exposes cutting teeth unexpectedly, do not use it. Do not force a narrow attachment over a wide blade. A loose guide can detach during grooming and startle the dog or expose an unsafe cutting length.
Inspect every attachment before fitting
Look for chipped guard teeth, cracks around the retaining clip and debris caught underneath. A missing tooth can drag a stripe through the coat. A stiff hinge should be maintained only as the maker directs, not bent with pliers. Examine the clipper blade separately for wear or heat before it touches the animal. Clean away loose hair while the tool is off. Lay out the attachments you actually intend to use so you are not searching through sharp items beside the dog. A sound guard provides predictable contact, but no attachment removes the need for slow control.
Secure the comb with power off
Follow the manufacturer’s exact fitting sequence. Some systems hook the rear edge first and click into place across the blade; others slide on from a different angle. Keep fingertips clear of the tooth tips while pressing the attachment into its intended lock. Check that both sides sit even and that the guard covers the stated blade area. Give it a gentle stationary stability check without pulling on individual teeth. If it shifts, start again rather than continuing to trim. Do not substitute tape or improvised clips for a broken retention point.
Prepare clean, completely dry coat
A guide comb cannot reliably move through a tight knot. Brush and comb the intended area gently before switching on the clipper. For a long coat, check that the teeth pass through without resistance. Do not drag a guard through a mat to see whether the machine can cut it. Tight mats can trap skin near the hair and require an experienced groomer or veterinary team. A dog who pulls away when you touch the spot may already feel pain. Stop and resolve that concern before any clipping attempt.
Understand length without guessing
The number molded onto a guide may correspond to a nominal cutting length, but the final result varies with coat texture, blade design and direction of movement. Check the product guide for your specific system. A longer guard does not mean a tangled coat will allow an even finish. Practice on an easy, flat section only when the dog is relaxed and the coat is prepared. Never use an unsupported length chart from another brand as proof that the attachment will fit. The objective is consistent and comfortable contact, not a perfectly uniform haircut.
Watch for heat, pull and sudden noise
Clippers and blades may warm with use. Follow the manual’s heat-check and maintenance guidance, then stop for cooling when needed. Avoid testing a hot metal edge on your dog’s skin. If the guide catches, the motor strains, or the dog flinches, stop the device and lift it away carefully. Turn the power off before examining the snag. Never pull a running clipper through resistance. A change in sound can signal trapped hair or an attachment problem. More pressure is not a safe remedy for poor flow.
Choose where not to attempt a trim
The face, ears, paw webs, armpits, genitals and folds of skin require extra expertise. An attachment comb does not guarantee protection over these contours. If your dog has painful mats, fragile skin or fear of equipment, ask a professional groomer or veterinarian for help. A quick coat tidy is not worth a cut or an escalating handling struggle. Avoid using sharp pointed scissors near mats. Stay with routine, low-risk preparation and leave complex work to someone trained in animal positioning and clipper handling.
Clean and store attachments after use
Turn off and unplug the equipment as instructed, then remove the guard using its release mechanism. Brush loose coat out of the teeth and wash only parts the manufacturer identifies as washable. Dry the clip and hinge completely, especially when the attachment contains metal. Inspect the locking points again before storing it with other equipment. Do not stack heavy tools on thin plastic guard teeth. Keeping each attachment with its matching clipper prevents accidental mixing of incompatible models. Replace a guard that no longer locks securely.
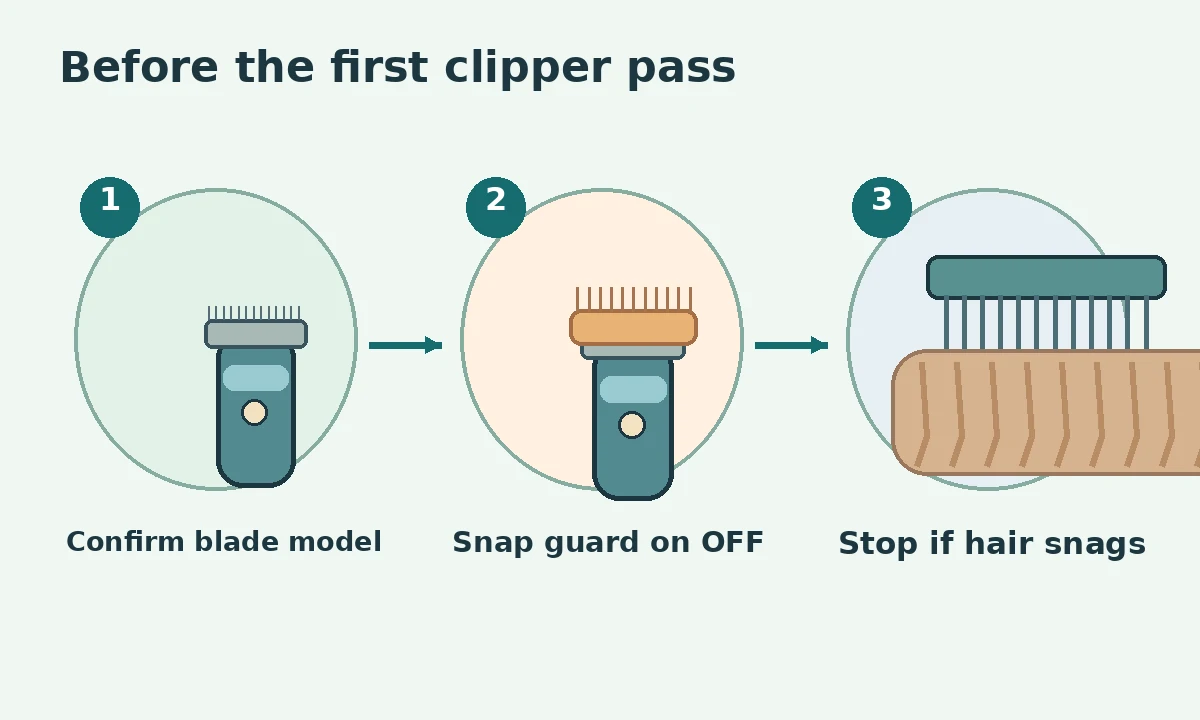
Make a stop-first decision rule
Before a grooming session, decide what will end it: a moving guard, pulling, visible redness, excess heat or a dog asking for space. Practice calm equipment introductions without clipping so the sounds and handling are less surprising. Keep breaks frequent and sessions short. If the coat is too tangled for the comb to move smoothly, the plan has already reached its limit. Professional help is an appropriate outcome, not a failed home grooming session. Track comfortable tolerance rather than how much coat you removed in one attempt.
How We Research
We compare veterinary grooming and animal welfare guidance with manufacturer instructions where equipment compatibility matters. We distinguish routine coat maintenance from painful matting and medical problems. Our practical checks focus on the actual tool, coat contact, the dog’s comfort signals and safe stopping points. Learn about our editorial process. These illustrations explain general principles rather than certify any specific product or replace a professional examination.
Sources
Wahl — A Guide to Clipper Combs — Guidance on coat care, comfort, tool use and safe limits.
VCA — Grooming and Coat Care for Your Dog — Guidance on coat care, comfort, tool use and safe limits.
ASPCA — Preventing Coat Matting — Guidance on coat care, comfort, tool use and safe limits.
No. The guard must match the blade width and attachment system named in the manufacturer’s instructions. Similar-looking clips may fit poorly.
No. Tight mats can pull skin and block the comb. Ask a professional groomer or veterinarian to manage painful or skin-level matting.
No. Guards help set length on suitable coats but do not protect every contour or replace careful handling and blade heat checks.
The coat may contain tangles, the blade may need maintenance, or the guard may not fit. Stop the device and inspect rather than pushing.
Replace it if teeth crack or bend, the lock loosens, or its fit changes. Never improvise a repair to keep a guard on a running clipper.