
This article provides general pet-care information, not individual veterinary advice. For painful mats, skin changes or sudden grooming intolerance, consult your veterinarian. See our veterinary information disclaimer. A brush that looks tidy on the outside can hold hair, skin flakes and residue between its pins. A comb can trap debris at the base of every tooth. Keeping tools clean makes each grooming session more comfortable and allows you to spot damage before a sharp pin touches your dog. The correct method depends on the handle, pad and metal finish. A wooden brush, cushioned slicker and solid stainless comb should not automatically receive the same soaking routine. This guide separates daily fur removal from occasional washing, careful drying and safe storage. Do not use unfamiliar household disinfectants on items that will touch your dog’s skin.
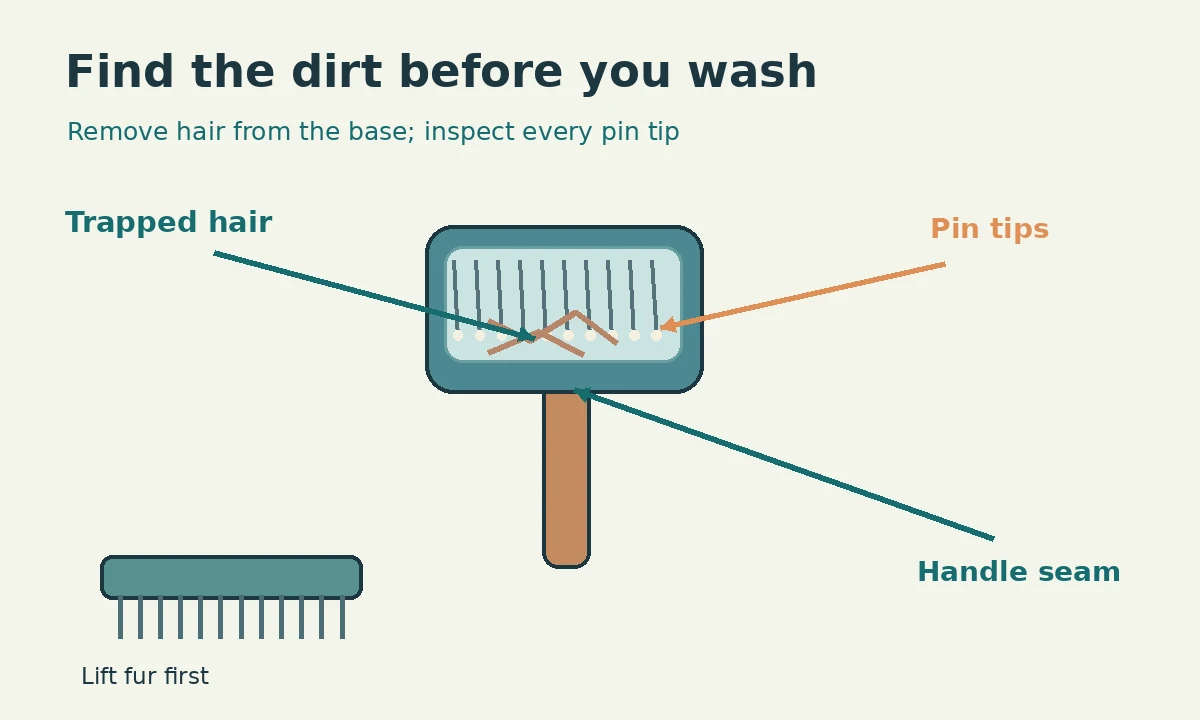
Identify what can safely get wet
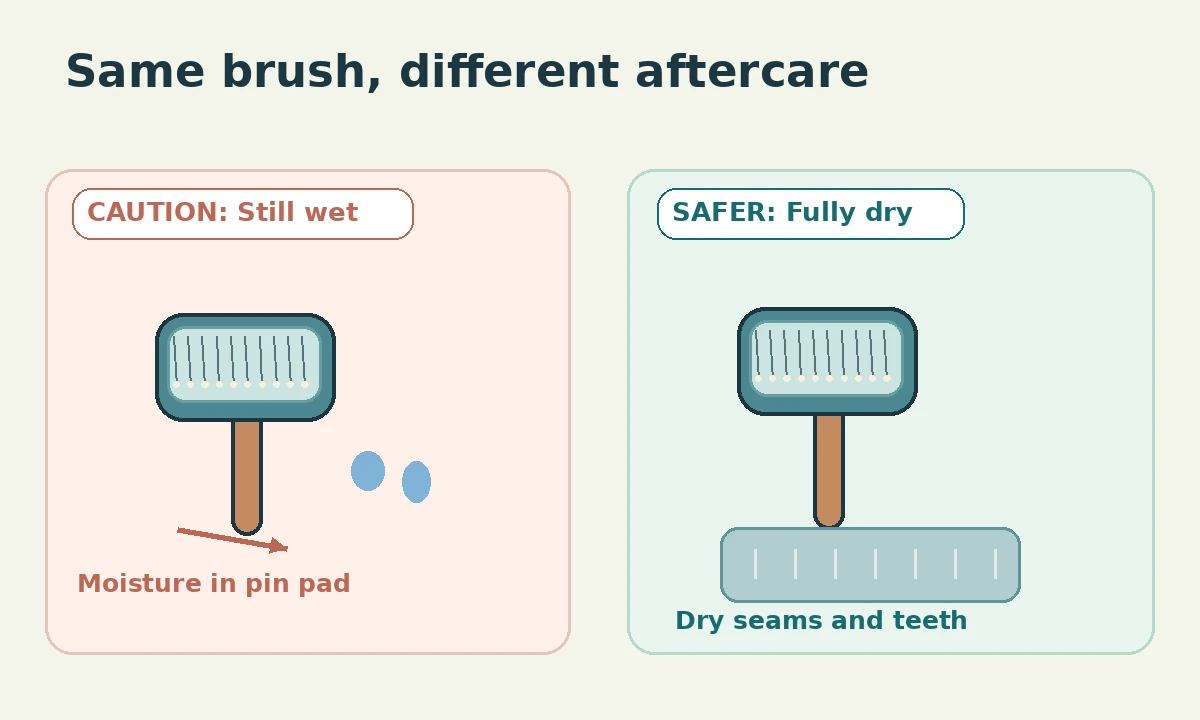
Read the manufacturer’s care instructions before putting any tool in water. A one-piece metal comb may tolerate hand washing, while a wooden handle can swell when soaked. A cushioned brush may trap water under its flexible pin pad. Inspect the tool for glued seams, vent holes, soft rubber and moving release mechanisms. Use a barely damp cloth on a part that the manufacturer says not to immerse. Keep electrical grooming tools and their charging ports completely away from sink water. This quick material check prevents a cleaning routine from weakening the brush itself.
Lift out hair before washing
Use your fingers or an appropriate cleaning rake to lift loose hair away from the base of the pins. Move carefully so you do not bend a wire or stab your hand. Work through one small section at a time rather than pulling a thick mat of fur across the entire brush. A wide-tooth comb may help clear a softer brush, but avoid scraping delicate rubber pads. Collect the shed coat in a bin, not the sink drain. If a pin head comes off with the hair, stop using that brush and inspect the entire pad.
Wash washable parts gently
For a water-safe comb or detachable non-electrical brush head, use mild soap and lukewarm water as the maker directs. Work a soft cloth or small cleaning brush along the teeth to remove visible soil. Avoid aggressive bleach mixtures, heavy fragrance and abrasive pads. Those choices can damage finishes or leave residues that contact your dog during the next session. Rinse washable surfaces thoroughly so soap does not remain around the tooth roots. A brush with a fixed cushioned base often needs a damp wipe rather than immersion. Never assume a quick splash reaches debris under a packed pin bed.
Dry the hidden edges and hinge points
Dry each permitted part with a lint-free towel, then leave it in an airy location out of the dog’s reach. Check the spaces where pins join the pad and where a self-cleaning mechanism slides. Moisture trapped in those areas can contribute to rust or a stale smell. Do not place the tool on a hot radiator or aim a high-temperature dryer at a plastic cushion. Wait until the brush is fully dry before closing a storage case. A wooden handle needs especially gentle moisture control so it does not crack or loosen.
Compare intact pins with damaged ones
Hold the cleaned tool under a lamp. Smooth rounded pins should look consistent; bent wires, missing protective tips and sharp edges create a different contact surface. Run a fingertip carefully near the side of the pin row without pressing onto the sharp points. Check for cracks at the comb spine and loose handles. Do not try to straighten a badly bent slicker wire and then test it on your dog. Replace the tool if the maker does not offer a safe repair. Good cleaning cannot restore broken protective features.
Keep tools separated between pets
Do not share an unwashed brush between animals when you see fleas, suspicious skin lesions or a known infectious skin problem. Ask your veterinarian about suitable sanitation and whether grooming should pause. A normal soap wash is not a universal treatment for every pathogen. Label storage compartments by tool if several pets need different brushes. Keep dirty items in a washable container until you have time to clean them. Avoid placing a used slicker against clean towels or fresh dog bedding. Hygiene is a practical sequence, not a claim printed on a cleaning product.
Set up storage that protects the teeth
Store dry brushes with the pins facing away from hands and other metal tools. Use a breathable organizer instead of pressing the heads together in a damp closed box. A protective cover can help if it fits without bending the wires. Keep cleaning chemicals in their original containers and away from pet supplies. Choose a shelf your dog cannot reach, especially if it chews plastic or wooden handles. Position the comb where you can pick it up without dragging sharp teeth across skin. Simple storage prevents much of the damage that otherwise looks like ordinary wear.
Check tools before the next session
Just before grooming, inspect the head under good light and move any release button with the brush away from your dog. Confirm that the pad stays attached and the handle does not wobble. Use gentle pressure on a small comfortable area of coat, then watch for flinching or redness. If the tool pulls painfully, switch to a more suitable brush rather than pushing harder. A suddenly sensitive coat or skin needs veterinary guidance. Keep a note of any tool that repeatedly snags, even after cleaning, and retire it from regular use.
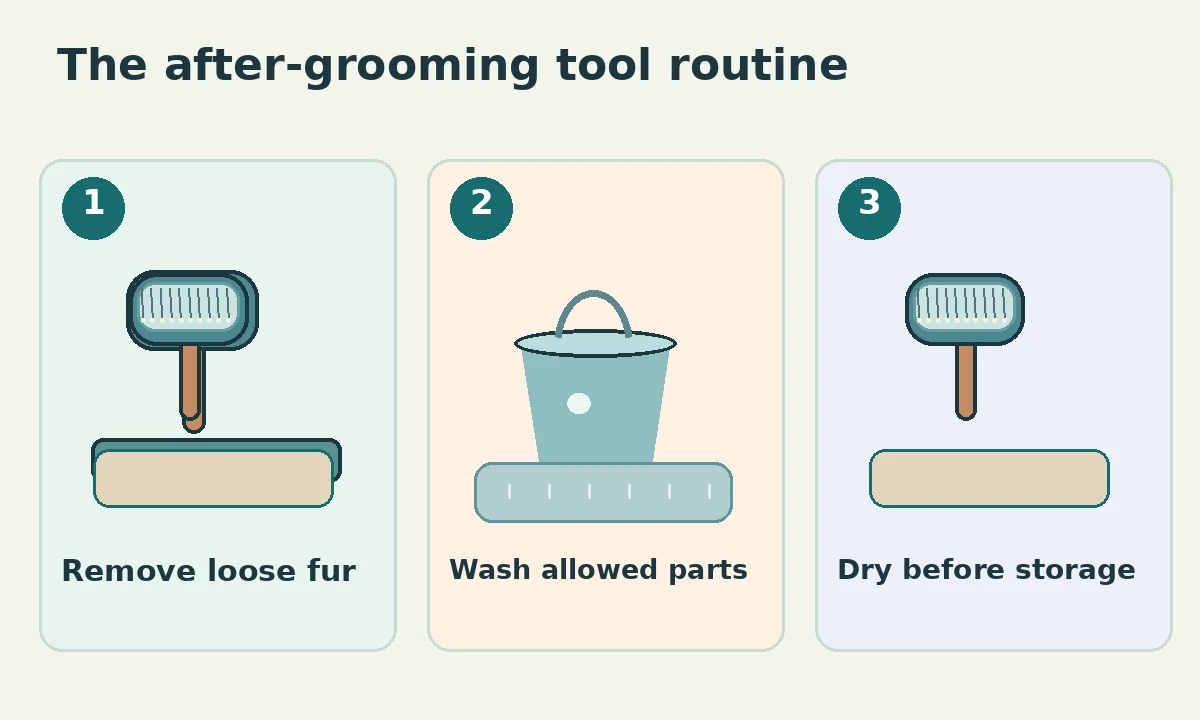
Make a repeatable after-grooming routine
After each session, remove the loose fur and wipe visible debris. Plan deeper cleaning according to actual use, product directions and whether the dog has been muddy or itchy. Give the tools enough drying time before their next use. This approach avoids leaving a wet brush in a bag after a hurried bath. It also lets you notice worn pins early. A clean, comfortable tool supports grooming, but it cannot solve dense mats, skin infections or pain. Bring those issues to a qualified groomer or veterinarian.
How We Research
We compare veterinary grooming and animal welfare guidance with manufacturer instructions where equipment compatibility matters. We distinguish routine coat maintenance from painful matting and medical problems. Our practical checks focus on the actual tool, coat contact, the dog’s comfort signals and safe stopping points. Learn about our editorial process. These illustrations explain general principles rather than certify any specific product or replace a professional examination.
Sources
ASPCA — Dog Grooming Tips — Guidance on coat care, comfort, tool use and safe limits.
VCA — Grooming and Coat Care for Your Dog — Guidance on coat care, comfort, tool use and safe limits.
Wahl — Attachment Comb Care — Guidance on coat care, comfort, tool use and safe limits.
Do not soak a cushioned slicker unless its manufacturer explicitly allows immersion. Water can remain inside the pin pad and affect the handle or mechanism.
A small amount may work on a washable solid metal comb if the manufacturer permits it. Rinse well and dry completely before use.
Release the hair according to the maker’s instructions, then check for strands wrapped around the moving plate. Keep fingers clear of wire tips.
Ask your veterinarian about appropriate products and whether replacement is preferable. Ordinary washing is not a guarantee of disinfection.
Replace it when pins bend or lose tips, the pad splits, a handle becomes loose, or the tool repeatedly scrapes or snags despite cleaning.