
This is general pet-care and product-fit information, not a diagnosis. A pet with pain, weakness, falls, or sudden difficulty jumping needs veterinary advice. Follow the exact product instructions and never force a frightened pet to climb. Read the veterinary disclaimer.
Dog car steps can offer a shorter series of climbs into an SUV, but they are not automatically easier than a vehicle ramp. Each step must support a full paw, the top landing must meet the door opening, and the assembly must not rock when a dog shifts weight. Begin with the actual vehicle opening and your dog’s comfortable movement, not an advertised step count. A dog with painful joints, weakness, or difficulty balancing may need veterinary guidance about whether steps are suitable at all.
Choose the correct entry door
Rear cargo hatches and passenger-side doors present different entry paths. A wide hatch may allow a straight approach, while a narrow side door leaves a short landing and door hardware nearby. Open the exact door fully, identify the stable surface where the top step would meet the vehicle, and watch for an exhaust pipe, moving door edge, or uneven ground. Never assume a unit designed for a hatch will fit a side sill. Walk the route yourself without the dog first and identify obstacles in the approach lane.
Measure the full climb, not only the floor height
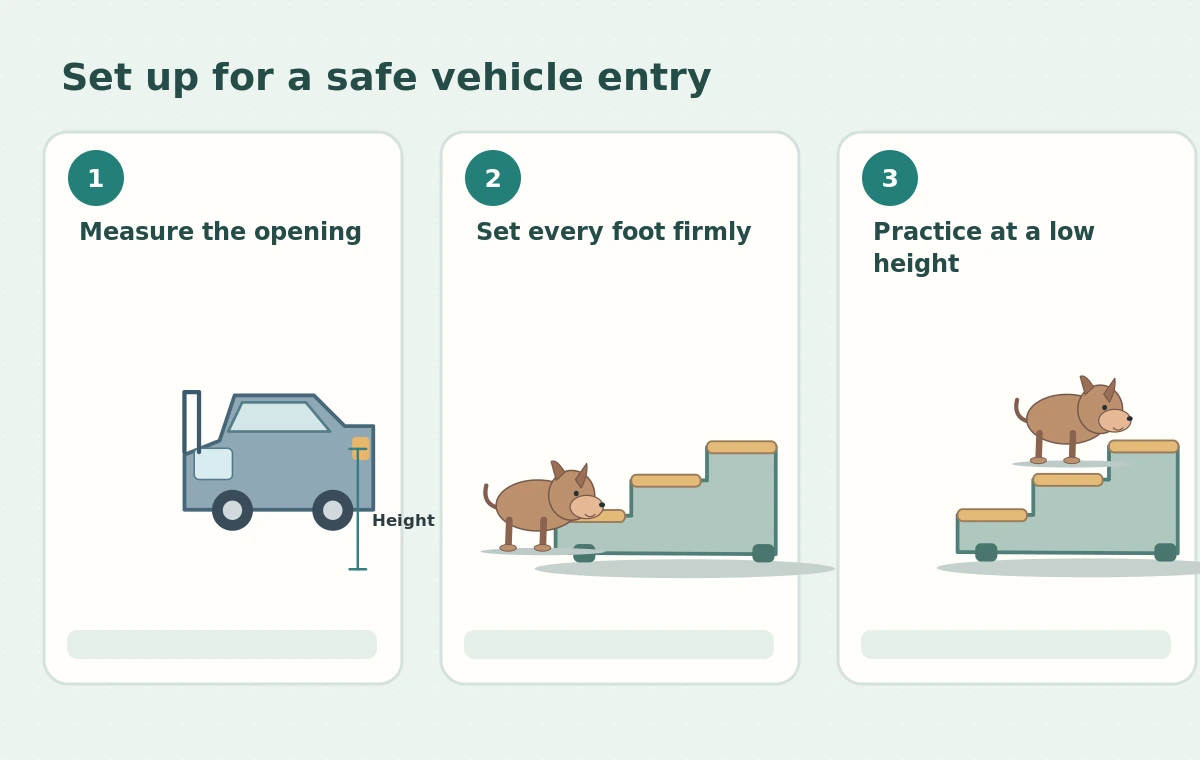
Measure vertically from level ground to the intended vehicle floor or sill with the vehicle parked as it will be during use. Note the available horizontal run and the dog’s turning space. Four steps can still have rises that are too tall or narrow for a particular animal. Compare the manufacturer’s assembled rise, individual tread dimensions, and required footprint. Leave a stable final landing: the dog should not have to jump sideways from the final step into the vehicle.
Inspect tread depth and grip
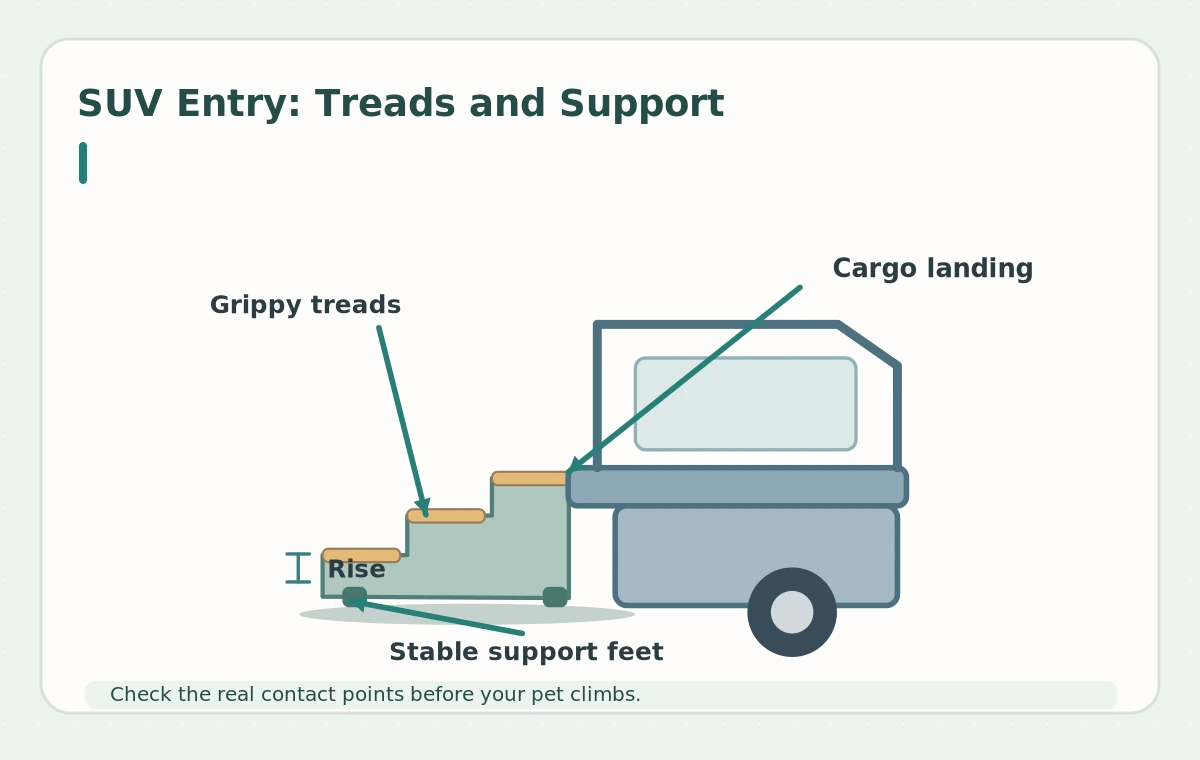
A paw should land fully instead of hanging over an edge. Deep, stable treads help dogs stop and reposition; thin bars or slick plastic can invite hesitation. Check traction both dry and after rain, especially if the vehicle is used on wet pavement. A textured surface must stay attached and should not curl or create a trip edge. Choose treads that are easy to clean and allow water to drain or dry. Grooves alone do not prove slip resistance for every paw or nail length.
Check the entire support structure
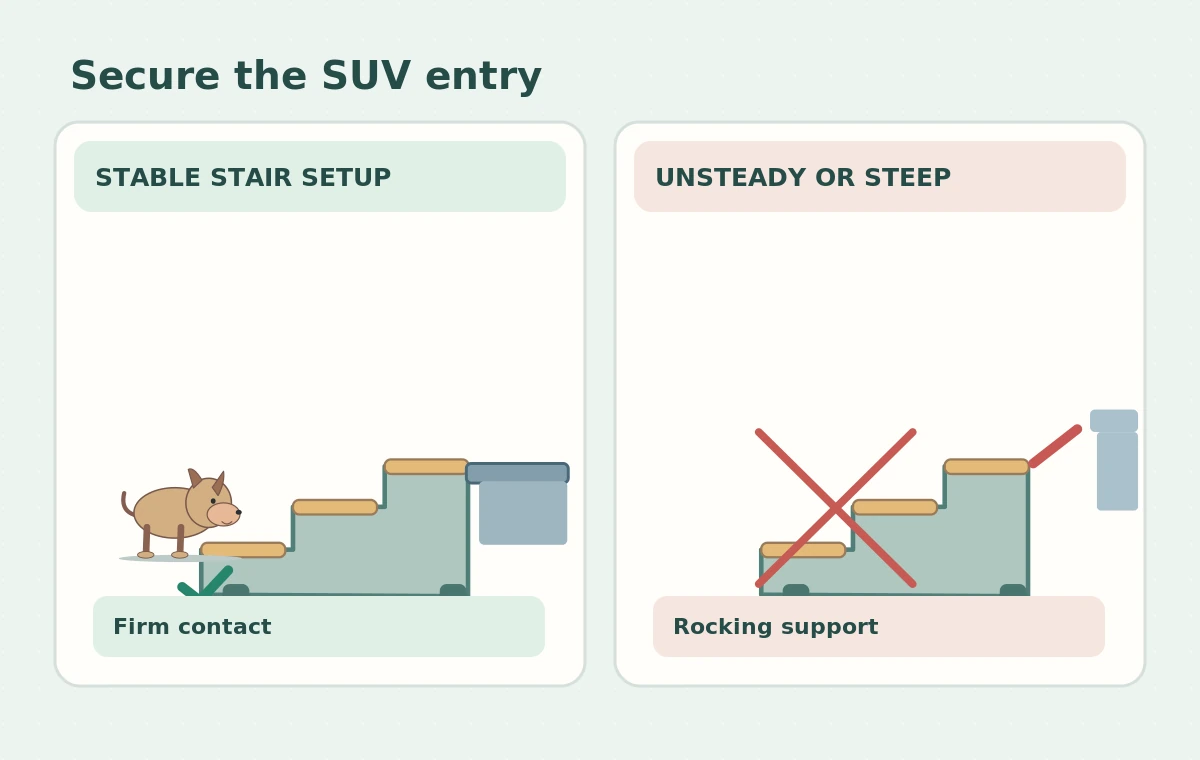
Place the steps on flat ground with every foot contacting the surface. Push gently at the top and side to test sway before any pet gets near. Inspect bracing, hinges, connectors, rubber feet, and any required attachment points specified in the manual. Never stabilize a rocking unit with loose stones or folded towels. A high weight rating does not guarantee stability when a dog steps near an edge. Reject cracked plastic, bent metal, missing pins, or loose fasteners until the proper replacement is fitted.
Compare stairs with a vehicle ramp
Steps use repeated leg lifts and require confident foot placement. A properly fitted ramp replaces them with continuous walking, but needs more ground space and a manageable slope. For a short-legged dog, deep steps may still be too demanding; for an anxious dog, a long narrow ramp may also be difficult. Let your veterinarian advise when pain or mobility loss is present. Choose based on how the dog travels in both directions. Descending often exposes problems missed while climbing up.
Teach the route without a forced climb
Start with the steps on a safe low surface or flat training area if the design allows. Reward approaching, touching a tread, and standing calmly. Add one controlled step at a time with the dog wearing a comfortable, well-fitted harness. Never yank the collar, lift by the leash, or leave the dog stranded high above the ground. A second person can keep the vehicle door secure and the area clear. Pause if the dog freezes, rushes, or looks for an escape route.
Control the unloading zone
Before opening a door, secure the dog safely inside the vehicle and cannot jump past you. Set the device fully, test every foot, and keep other traffic away from the landing. Unclip a vehicle restraint only under controlled conditions when you are ready to guide the exit. Never place the feet of portable steps on ice, loose gravel, a sloped parking edge, or a drain grate. Use a safer alternative when the surface is unsuitable instead of improvising a shaky support.
Store and maintain moving sections
Folding joints, telescoping legs, and snap closures collect dirt over time. Inspect and clean the mechanism as its manufacturer instructs, then dry before storage. Check the carrying latch so the device does not spring open in transit. Secure it in a vehicle compartment where it cannot become a loose object during a stop. Recheck tightness and grip after several uses, after washing, and after impacts. Do not modify the structure with unapproved screws or tape.
Know when to stop using the steps
Retire the unit when it rocks, sags, slips, has a damaged tread, or no longer sits flush at the top. Stop training when the dog shows pain, panting from distress, repeated missteps, or reluctance to put weight on a limb. Sudden trouble climbing deserves veterinary attention rather than a tougher training session. A safe, well-fitted entry system should preserve the dog’s confidence and movement; it must never depend on the owner pushing from behind.
How We Research
We compared veterinary mobility guidance and manufacturer setup instructions, focusing on support points, landing security, paw traction, and voluntary learning. These are selection and fit checks rather than hands-on product test results. We have not examined your pet or tested the model you own. We reviewed independent animal welfare advice alongside model-specific directions and avoided universal claims about weight ratings, angles, or clinical benefits. Learn about HubPet editorial research.
Sources
VCA Animal Hospitals — Creating a Comfortable Home for Your Mobility Compromised Dog
VCA Animal Hospitals — Helping Your Dog With Osteoarthritis
PetSafe — Acclimate and Train Your Pet to Use a Telescoping Ramp
No. Steps require repeated lifting and balance, while a ramp requires room and traction. Fit the aid to the individual dog and seek veterinary input when mobility is limited.
Only if the maker specifies both positions and the device reaches a secure top landing without interfering with the door, sill, or vehicle hardware.
Set all feet on flat ground, secure every prescribed joint, and apply gentle pressure in multiple directions before letting the dog approach.
Stop and return to lower practice with treats and an easy exit. Do not drag a frightened dog into the vehicle or force a jump from the top.
Foot contact, reliable tread grip, safe drainage, and a stable level landing matter. Dry or relocate the unit if it shifts or becomes slick.