
This is general cat-welfare information, not veterinary advice. Read our veterinary disclaimer. Follow the manufacturer’s instructions and seek qualified structural advice when a support system is uncertain.
DIY cat wall shelves offer flexibility over platform length, finish and layout, but a homemade shelf is still a piece of load-bearing pet equipment. A cat can land with far more movement than a decorative object sitting still. This guide covers material selection, finishing and inspection, while leaving structural fastener specifications to qualified guidance for the actual wall. Do not treat an internet cut list or untested load rating as evidence that a particular installation is safe.
Write the shelf’s job before choosing a board
Decide whether each platform is a resting ledge, stepping stone or turning landing. A resting shelf needs room for the individual cat to lie down and stretch, as feline environmental guidelines recommend. A landing shelf should be broad enough for the paws to arrive and change direction. Sketch the entry and exit path, then check that the shelf will not block a door or create access to an unsecured window. Buying wood before making this plan can lead to a handsome platform with nowhere safe to put it.
Select intact material appropriate to the design
Inspect board stock for splits, loose layers, delamination, knots at critical attachment points or warping. Materials differ in stiffness, weight and ability to hold fasteners; do not assume all wood-looking boards behave alike. Follow sound woodworking practice and the hardware maker’s supported configurations. Avoid salvaged painted boards with unknown coatings, damaged treated lumber or pieces contaminated by chemicals. When uncertain about the structural suitability of a board and its span, ask a qualified carpenter or installer rather than guessing from thickness alone.
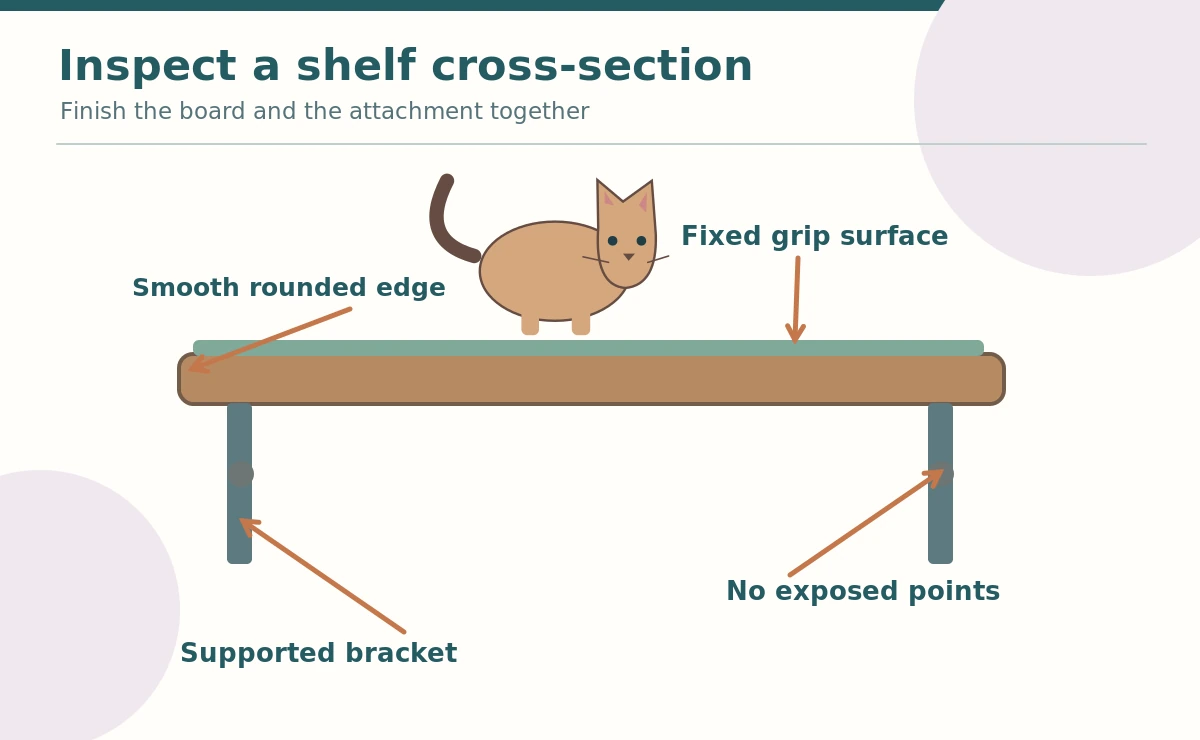
Round every accessible corner and check for splinters
A cat may brush its flank along an edge, grip the front with claws or land near a corner. Sand accessible edges smooth and round sharp points before applying a finish. Inspect the underside too, because paws can reach around a shelf while climbing. A thin decorative veneer that peels off can be a choking or injury risk. Remove loose chips, staples and exposed wire. A smooth finish should remain non-slip once the traction surface is added; a glossy slippery top is not ideal.
Use finishes only after checking product directions
Many sealants, paints and adhesives require specific application, ventilation and curing times before regular use. Follow their exact manufacturer instructions and keep pets away from tools, dust, wet coatings and fumes until the finish is fully ready. Do not assume that a material labeled “natural” is safe for chewing or licking. If a cat is inclined to chew furniture, consider a removable washable cover and consult a professional about suitable finishing materials. Never paint over a loose joint to hide a problem.
Plan a fixed traction layer with clean edges
A pad, carpet strip or textured cover can make landing easier, but it must not become a loose mat that slides with the cat. Avoid staples, tacks or adhesive strips exposed where claws or teeth can reach. Choose an attachment method that the material and board can reliably support and that still allows cleaning. Inspect threads and corners after washing. A small removable cover may be more maintainable than a large permanently glued carpet that traps dirt or hides the hardware.

Verify hardware and wall construction separately
The mounting design must match the actual wall, bracket system, board dimensions and expected moving load. Ordinary decorative shelf fasteners may not be appropriate. Do not invent a screw length or anchor rating from a generic guide; use documented product instructions and qualified input when conditions are uncertain. Locate pipes and wiring before any drilling. Never rely on fragile trim or unsupported drywall solely because a screw feels tight. If you cannot verify the fastening path, choose a stable freestanding alternative.
Build with the pet kept out of the work area
Cutting, sanding and drilling create sharp waste, airborne particles and tiny fasteners. Close the work area to the cat, collect offcuts and thoroughly clean the floor before allowing entry. Keep adhesives, saw blades, extension cords and cleaning liquids inaccessible. Assemble and inspect the shelf on a workbench first, where loose corners can be corrected safely. Do not encourage the cat to sit on an unfinished shelf for a picture. The project is complete only when the hardware and finish are ready.
Check the installed shelf while it is empty
Inspect each bracket from below, confirm the board sits level and look for open joints, cracks or exposed screw tips. Follow the mounting component manufacturer’s recommended checks, not an improvised jump or hanging-weight test. Stop immediately for bending, creaking, fastener rotation or unexpected movement. Do not let a pet be the first test. Revisit the route from nearby furniture to confirm it still offers clear room for paws and a comfortable descent without passing a sharp edge.
Offer choice and watch early use
Start with a low shelf reachable from stable furniture. Let the cat sniff and climb voluntarily rather than placing it onto an unfamiliar high surface. Check that claws do not catch in the cover and that the cat can step off without sliding. If the cat avoids the project, assess placement, surface grip, foot space and household traffic before adding height. Some cats simply prefer a box or freestanding tree. A homemade structure is only successful if it suits the animal and the home.

Maintain DIY work as real household equipment
Look for split edges, peeling coating, loose cover corners, bowed boards and bracket movement. Take the shelf out of use if anything changes. Keep a note of the materials and bracket instructions so future household members know how it was installed. After moving furniture, reassess the approach and landing paths. Cats Protection notes that enrichment can involve climbing, but safety and access remain essential. A modest, inspectable DIY shelf is better than an elaborate structure whose support nobody can verify.
How We Research
Our research separates feline-welfare guidance from mounting claims. Published veterinary and animal-welfare recommendations establish the general needs; product-specific instructions establish attachment limits. HubPet does not test bracket loads or certify particular products. Sources reviewed October 28, 2026. Read How HubPet works.
Sources
AAFP and ISFM Feline Environmental Needs Guidelines. Read source.
Cats Protection, Our Guide to Indoor Cats. Read source.
VCA, Feline Environmental Needs Guidelines. Read source.
Safety note: Do not allow access to a loose elevated surface or an unsecured window. Seek veterinary help if a cat shows signs of injury, new difficulty moving or discomfort.
There is no one material for every design. Choose intact, suitable stock and obtain structural guidance for the actual span, bracket and wall.
Only use adhesives and coverings according to their instructions. Avoid exposed glue, loose fibers and materials that hide mounting checks.
Yes. Smooth accessible corners and undersides reduce snagging and sharp contact during climbing and landing.
You need a verified mounting method suited to the actual structure. Do not guess which anchors are safe; seek qualified help where needed.
Wait until coatings are fully dry as directed, remove debris, check empty supports and provide a safe low approach.