
A pet gate is only as useful as the closure that holds it shut. A sturdy frame cannot help if its walk-through door bounces open, the release sticks, or the family assumes it latched without looking. Gate latches vary: some require a deliberate lift, some use a two-action release, and others claim to close automatically. This guide shows what those differences look like and how to check them safely in a real household. Always follow your exact gate’s instructions, since a familiar-looking latch can have different tolerances.

Separate the gate frame from its door latch
Start by locating the fixed frame, moving door leaf, hinge, latch tongue, and the receiving catch. The visible handle may operate more than one hidden part. An upper catch can close while a lower stop remains misplaced, and the gate may seem shut until bumped. Study the manual’s close and lock sequence with the dog safely away. Practice opening the gate from both accessible sides without rushing. If a mechanism is unfamiliar, do not test it with the pet leaning on the rails; learn what full engagement actually looks and feels like.
How manual latches differ
A manual latch generally requires a person to move the gate and complete a closure action. Some need the leaf lifted, pushed firmly into the receiver, or locked with a thumb button. That intentional action can be helpful in a busy home if everyone knows the routine, but it also means someone can leave the gate unsecured. Evaluate whether the control is easy for all authorized users to operate without pinching fingers. Excessive force or repeated attempts can signal misalignment rather than a merely stiff mechanism.
What self-closing really promises
Self-closing designs may use hinge tension, gravity, or a spring to move the door toward the catch. Automatic movement does not mean that the latch always engages, especially if the gate tilts, a floor threshold obstructs it, or someone holds the door partly open. Some gates have hold-open positions that intentionally disable normal closing. Test the full travel range specified in the manual. Watch the last inch of motion, not merely whether the door swings toward the frame. Always visually confirm the lock rather than relying only on a closing sound.
Understand two-action releases
A two-step release might combine a sliding button with a lift or squeeze. Its purpose is to reduce unintended opening, but the exact method varies across models. Check whether the buttons return fully, whether the handle catches on fabric or sleeves, and whether a curious dog could reach and paw at the control. Never tie the release button down or remove a safety component for convenience. If adults in the home struggle to open it with reasonable force, consider a different gate or seek approved service instead of bypassing the mechanism.
Align the tongue with the receiving cup
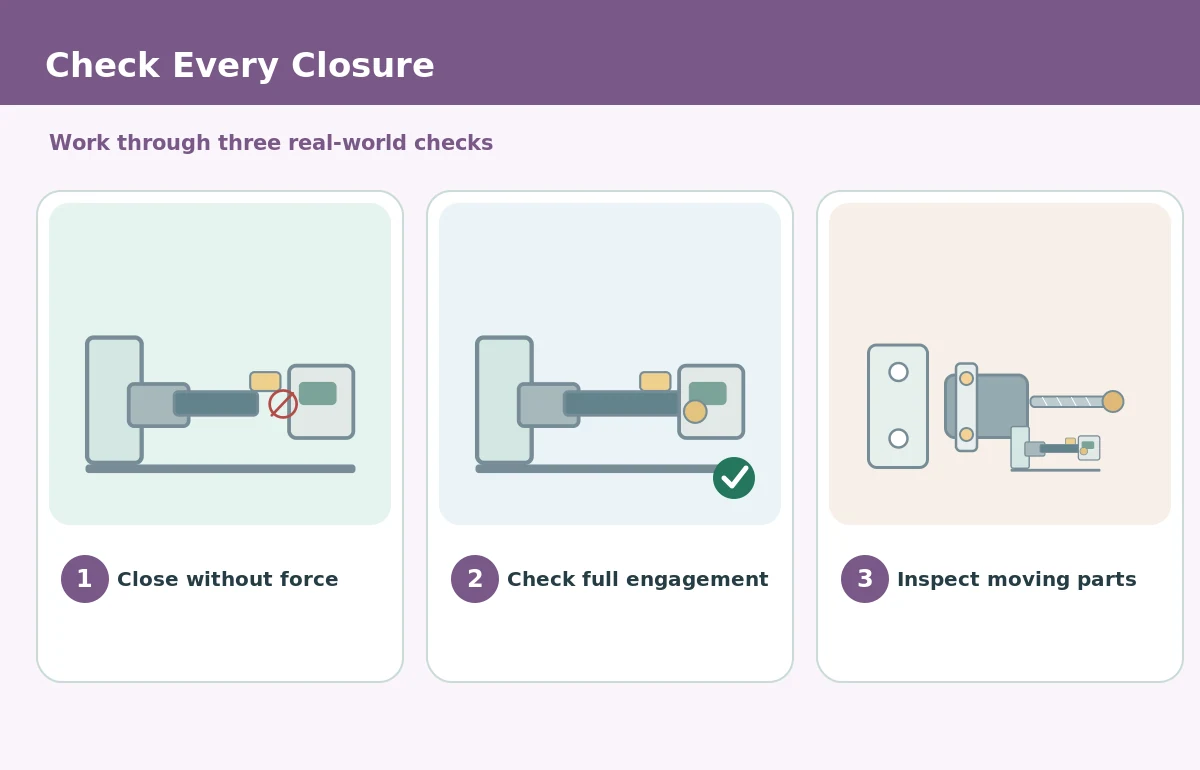
Look closely at the point where the latch tongue meets the receiver. It should enter and hold as the manufacturer intends, without scraping, excessive separation, or a tilted door. Pressure-mounted gates can change their latch gap as someone adjusts the side spindles; tightening one side at random may make the problem worse. Check the frame level, mounting points, hinges, and any specified clearance marks. Do not use tape or a magnet as a substitute for a broken catch. If an approved alignment procedure fails, stop relying on the gate.

Test closure without slamming
Stand on the human side of the barrier and close the gate in the normal way. Confirm the control returns to its locked position, then apply the gentle check described in the manual to verify engagement. Repeat from the other side if the design permits. Listen for scraping and look for a handle that needs an unnatural lift to seat. A hard slam is not a proper test and can damage the latch. If the gate consistently needs a second attempt, treat it as unresolved until you identify the cause.
Consider paws, noses, and jumping
Dogs may probe at an accessible latch with paws or push the door with their shoulders. Small dogs can put noses through wide openings near the catch, while larger dogs may jump against the entire frame. Check for pinch points around moving hardware and barriers that flex under ordinary use. The solution is not to train a dog to tolerate a defective latch. Choose a more suitable barrier, supervise initial exposure, and reward calm behavior away from the gate. Do not use a gate as sole containment for a dog in significant distress.
Plan for guests and late-night crossings
Between a bedroom and bathroom, a gate must remain easy to recognize in poor light and simple for adults to open deliberately. The lower bar can be a trip hazard if a caregiver walks through without noticing it. Explain the closing routine to guests and older children; do not assume everyone can interpret a click. If a dog needs an emergency exit route or water access, keep those needs in the layout. Avoid putting a gate where it blocks an emergency evacuation path or prevents a person from reaching a pet quickly.
Inspect the moving parts periodically
Look for a loose hinge pin, cracked latch housing, worn spring, rust, or debris in the receiver. Clean only according to the manufacturer’s directions and keep cleaning chemicals away from pets. Lubrication is not automatically recommended; oil can attract dirt or damage plastic depending on the model. An altered spring or improvised fastener changes how a latch holds. If you find damage, use a compatible manufacturer replacement or retire the gate. Keep the model number handy for maintenance questions.
Choose a latch for real daily use
Before buying, simulate the people and pets who will use the barrier: a person carrying laundry, a dog that paws at handles, and a visitor who may forget to close a gate. Favor a design with clear engagement, manageable operation, and a bottom threshold suited to the room. Confirm the installation type and opening width before judging latch convenience. If the gate will protect a fall hazard, model-specific stair approval and secure hardware mounting take priority over one-handed marketing claims. Keep checking the latch after installation.
How We Research
For this guide, HubPet compared animal-welfare advice on pet gate latches with documented mounting and part-compatibility guidance. We distinguish general safety principles from exact product specifications, which should always come from the relevant manufacturer manual. We reviewed these references on November 1, 2026. For HubPet’s editorial approach, see About HubPet.
Sources
American Kennel Club — Dog Gates 101. See the original source for its stated scope, limitations, and current model instructions.
American Kennel Club — Dog Gates for Every Dog and Home. See the original source for its stated scope, limitations, and current model instructions.
North States MyPet — Pet Gate Installation FAQs. See the original source for its stated scope, limitations, and current model instructions.
Not automatically. The door must actually engage the latch, and both styles require a suitable installation and regular checks.
The catch may sit out of line or only partly engage. Follow the manual and stop using the gate until it closes reliably.
No. Never defeat a release mechanism. Clean or service the gate only as directed and replace damaged components.
No latch can promise complete resistance to every dog. A determined dog may paw, jump, or push, so choose the barrier for its behavior and supervise.
Confirm closure every time someone uses the gate and inspect hinges, housing, and mounting points regularly for wear.