
Split-Bench Dog Seat Covers solve a specific car-travel problem, but appearance can hide limits. The most useful questions concern fit, access to vehicle safety equipment, everyday comfort, and how the product behaves after cleaning. This guide explains what to measure and what to inspect before a trip. A cover, padded seat, or accessory is not automatically a collision restraint. Keep dogs safely secured using appropriate equipment and follow the instructions for both the vehicle and the restraint. For health concerns rather than equipment selection, see our veterinary disclaimer.
Start with the actual rear-seat layout
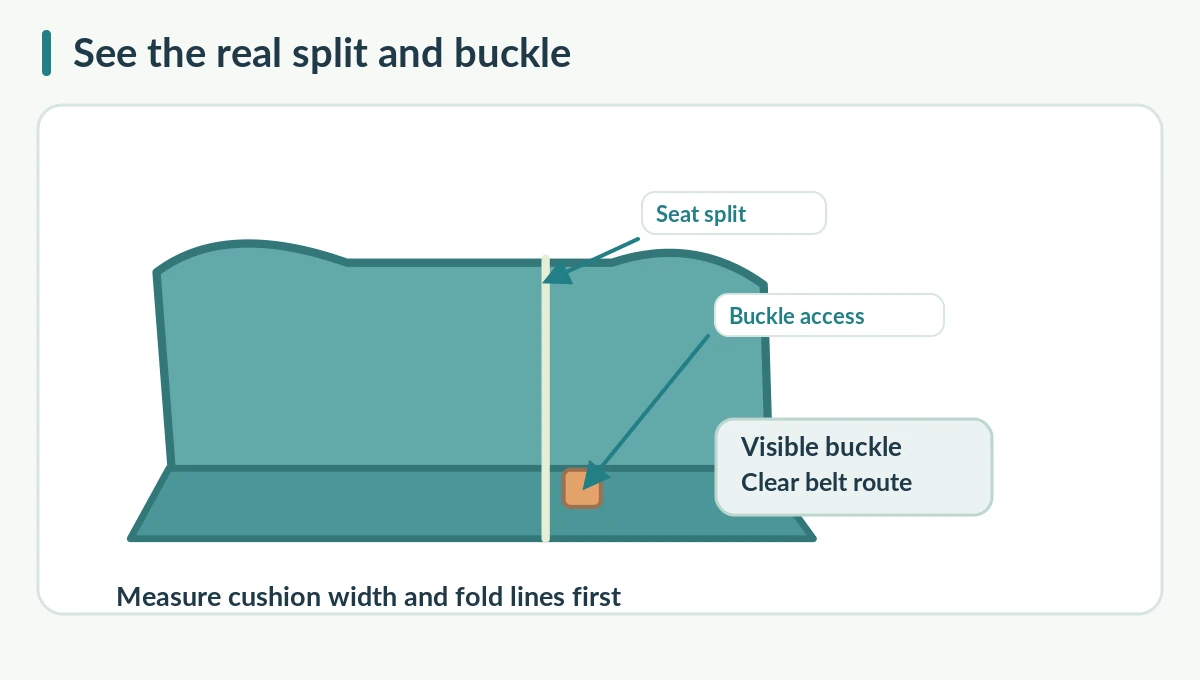
The back bench is rarely one continuous rectangle. Many vehicles have a 60/40 or 40/20/40 folding seatback, separate headrests, fixed buckle stalks, child-seat anchors, and a raised center cushion. Photograph the uncovered bench before buying a cover. Note which passenger places and folding sections you regularly use. A product that spans the full row may be convenient for cleaning but inconvenient whenever one section must fold. The cover should protect the upholstery without changing how any required safety equipment works. Make the restraint plan first, then buy the fabric around it.
Measure the bench in three directions
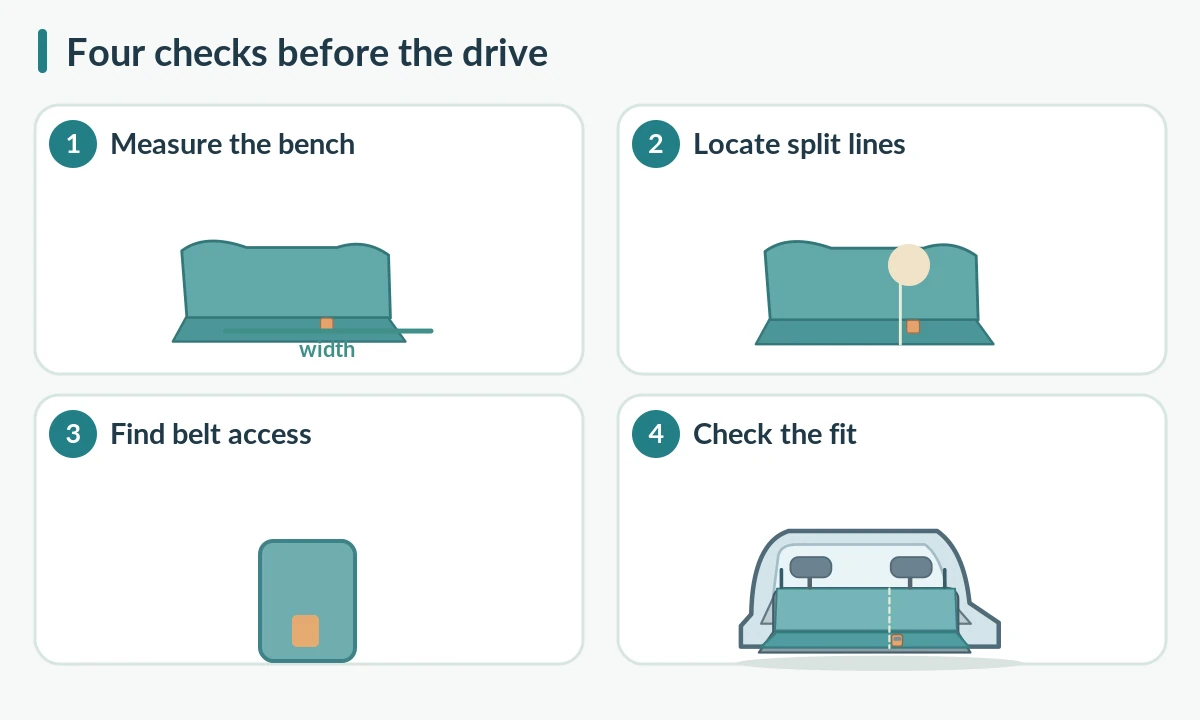
Measure the usable seat cushion width between the door-side bolsters, the cushion depth from seatback to front edge, and the height to each headrest attachment. Also note the location of buckle receptacles and where the seatback folds. Do not rely on a product photo showing a similar-looking SUV. Compare the maker’s dimension diagram against your actual seat and allow for raised bolsters. A cover that is too narrow exposes upholstery; one that is much too large can bunch near the restraint connector and tempt you to tuck fabric into working mechanisms.
Check every split and fold line
A split-bench cover may have a zipper, an overlapping fabric panel, or individual pieces. Test whether the layout follows the seatback division. Never pull a cover tight across a folding hinge or force the seat to latch through thick padding. Inspect how the material behaves when the rear seat moves between its normal positions. Some designs make sense only if the seatback remains upright. If you frequently carry a human passenger next to your dog, a separate narrow cover may fit better than a full-width hammock.
Keep buckle openings truly accessible
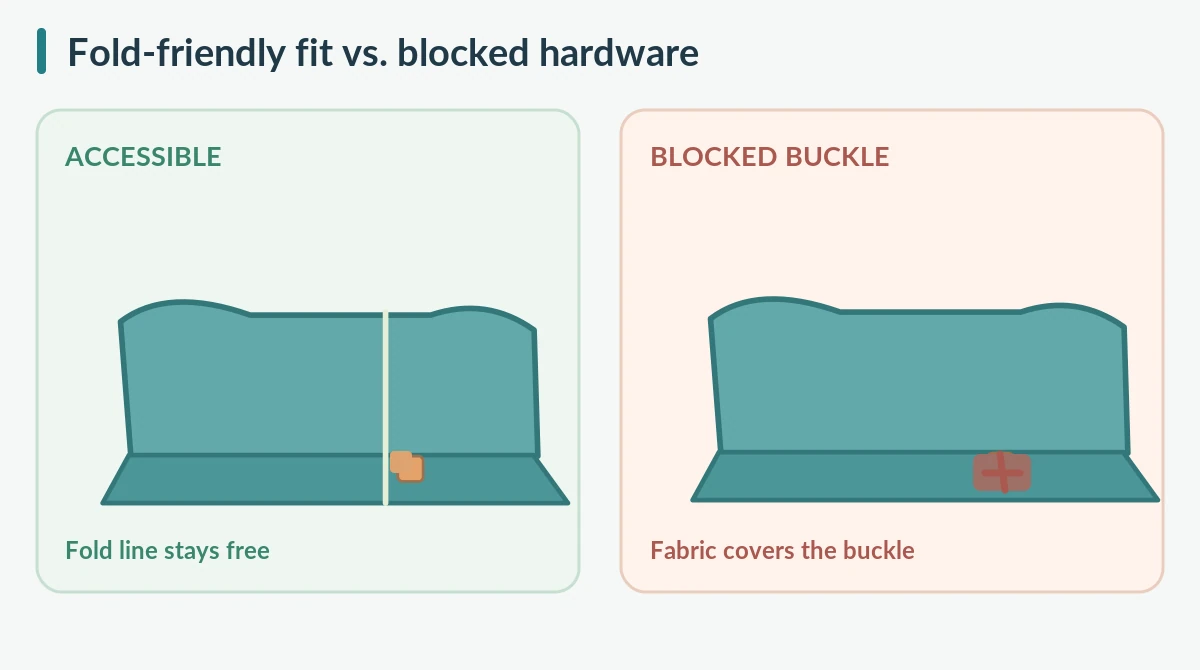
A slot in the correct general area is not enough. It should reveal the original belt buckle and let you insert or release the approved restraint without dragging the belt over a sharp fabric edge. Check that fabric does not divert the belt under the cover, through an unapproved loop, or across a thick seam. Follow the restraint manufacturer’s exact connection instructions; different systems are not interchangeable. With the car stationary, test the buckle after you install the cover. The opening should still be obvious to someone unfamiliar with the vehicle.
Choose attachment points with a purpose
Headrest loops, tuck-in seat anchors, corner elastic, and nonslip backing serve different purposes. Headrest loops may keep a protector from slumping, while rubberized backing can reduce sliding during routine movement. None of those features makes the fabric a crash restraint. Check the vehicle manual before placing any anchor into a seat gap or fastening around a moving part. Keep attachments clear of shoulder belts and seat folding hardware. If a strap rubs a belt or creates a snag, find a different compatible cover instead of improvising a knot.
Compare one-piece and modular covers
A one-piece protector is quick to remove after muddy hikes, but its single panel may cover the split line and buckle points. Modular panels allow a human passenger seat to stay uncovered, yet leave more seams and possible dirt paths. Think about the actual job: everyday fur, muddy paws, or protecting a part of the bench while transporting gear. Do not assume a larger or thicker item is safer. Restraint safety depends on separately verified equipment and correct installation, not the number of layers covering the seat.
Inspect side flaps and door clearance
Door-edge flaps help catch dirt while a dog steps into the vehicle, but the door latch must not catch a loose flap. Raise and lower it with the car stationary. Watch for interference with seat controls, vents, and cables. A dog that needs assistance entering the car may be better served by an appropriate ramp or lifting plan than a slippery fabric flap. Choose a grippy landing surface and keep the dog under control while loading. Close the door only after confirming the dog, leash, and fabric are clear.
Clean the cover without changing the fit
Shake debris out away from the car, then vacuum seams, belt-slot edges, and the fold joint. Follow the fabric care label for washing and drying. Heavy machine washing can weaken elastic and coatings or distort the cut around buckle openings. Before reinstalling, check for stretched anchor loops and frayed slot binding. Refit the protector on the parked vehicle and repeat the belt access test. A freshly washed cover is not ready to use if a shifted layer conceals the openings or a corner is loose.
Do a full stationary fitting rehearsal
Park on level ground, remove the dog, and install the cover with all parts of the bench in their normal travel positions. Sit in each passenger position you may use and check every belt. Install the dog’s separately selected, suitable restraint according to its instructions. Then let your dog enter and settle calmly while supervised. Check that paws are on a stable surface and the cover does not pull a buckle out of reach. A gentle, low-distraction rehearsal catches more problems than relying on an online product image.
Know what a seat cover cannot do
A protector is a cleaning accessory. It does not substitute for a crash-tested harness, secured travel carrier, or other appropriate restraint. Avoid claiming that a hammock or thick quilt will hold a dog safely during a collision. Cornell Veterinary Medicine and the Center for Pet Safety emphasize choosing appropriate tested travel equipment. Keep the animal in the back seating area or a suitable secured carrier, and never leave a pet unattended in a parked vehicle. Treat a cover as the last upholstery layer, not the first safety layer.
How We Research
We reviewed veterinary school and animal welfare guidance on car travel, plus research-led pet restraint information. We distinguished manufacturer fit claims from independent crash-safety evidence. No product featured here was independently crash-tested or certified by HubPet, and we do not present comfort features as safety ratings. Vehicle and product instructions take priority whenever a generic drawing cannot show a specific model. We checked the sources in October 2026; learn more about our editorial approach on the About HubPet page.
Sources
ASPCA — Travel Safety Tips (accessed October 2026).
Cornell Veterinary Medicine — Traveling Safely With Your Dog (accessed October 2026).
Center for Pet Safety — Cargo Connection Advisory (accessed October 2026).
Travel safety note: Never leave a dog unattended in a parked vehicle. Avoid front airbags, loose pets, open pickup beds, unsecured cargo, and improvised tether extensions. Look for testing of the exact model and configuration before trusting any crash-safety claim. Ask your veterinarian about travel sickness, pain, or distress instead of forcing equipment use.
Only if the cover maker explicitly supports that layout and the seat and belt mechanisms still work normally. Recheck fit after any configuration change.
No. The slot must allow the vehicle buckle and the separately approved pet restraint to connect as designed without interference.
No. Those straps generally position the cover, not the animal. Use an independently appropriate travel restraint.
Stop using that configuration. Try a correctly sized modular protector rather than forcing the hinge or seatback latch.
Only if the carrier manufacturer permits that surface and the carrier remains correctly positioned and anchored. A slippery layer is a concern.