
A missing wall cup or bent spindle can turn an otherwise sturdy pet gate into an unreliable barrier. Replacement parts are not universal: manufacturers may use different shaft threads, lengths, hinge shapes, and receiver designs even within one product line. This guide explains how to identify the correct component, recognize when to retire the gate, and verify a manufacturer-approved repair. It does not teach improvised drilling, welding, or tension modifications. If you cannot match a part confidently, stop using the gate rather than guessing. For injury or pet health concerns, speak with a veterinarian; see our veterinary disclaimer.
Record the model before ordering parts
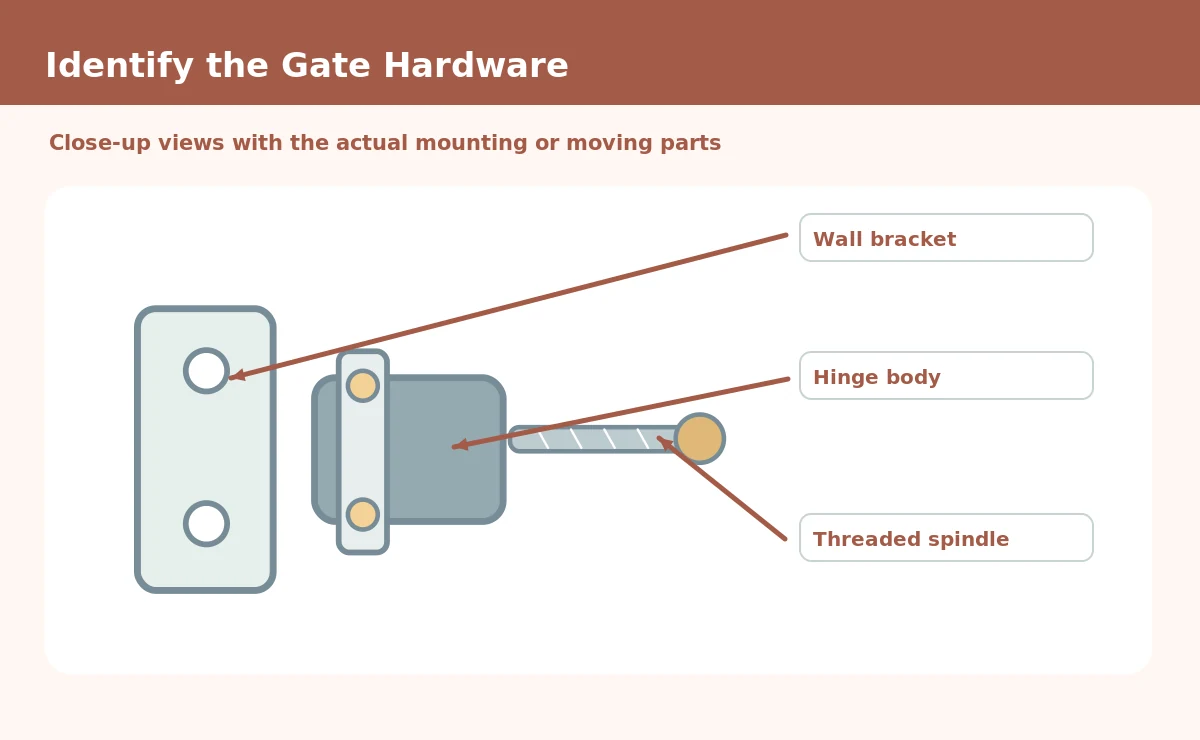
Find the original manufacturer, model number, version, and approximate purchase period from the product label or manual. Photograph the whole gate and the damaged component after you take the barrier out of use. The side of a pressure spindle or the plastic color alone rarely identifies the correct part. Manufacturer replacement catalogs can list specific compatible models; Carlson’s hardware boxes, for instance, have different model lists. Keep this information with the instructions so another family member will not purchase the first visually similar part online.
Recognize what a spindle does
In a pressure-mounted gate, adjustable threaded spindles help position the frame against the approved contact surfaces. Their thread, length, end pad, and adjustment mechanism must match the original system. A bent rod, stripped thread, or broken plastic receiver can cause uneven pressure or an unstable latch gap. Do not substitute a general hardware-store bolt or add extra nuts to gain width. If a spindle no longer adjusts smoothly, retire the gate until an approved replacement arrives and follow the manufacturer’s instructions to reinstall all corner connections.
Check wall cups and contact pads
Wall cups or discs may keep a pressure foot from wandering; their attachment method and dimensions are specific to the gate. A missing cup is not automatically replaced by a furniture floor protector, felt pad, or adhesive hook. Follow the manual to learn when the gate requires cups and whether its mounting method uses screws, positioning pads, or both. Look at the wall behind the cup for damaged paint, dented trim, or a crumbling surface. New hardware cannot make a weak wall contact safe by itself. Fix the mounting location before reinstalling.
Inspect hinges without changing their geometry
Walk-through gate hinges carry repeated motion and can fail gradually. Check for cracks at the hinge housing, missing pins, bent mounts, or a door leaf that drops as it swings. Do not bend a hinge back into line or replace its pin with a nail, wire, or generic screw. Even a small change in the pivot can prevent the latch from seating. Seek a manufacturer-matched hinge assembly when offered. If a damaged frame also contains the hinge, replacing the entire gate may be safer than attempting a repair.
Treat latch hardware as safety-critical
A broken latch tongue, catch receiver, or release spring is not a cosmetic issue. Never hold the door shut with a carabiner, bungee, cable tie, or magnet while the gate separates a dog from another area. An improvised closure can fail or trap a person trying to pass. Contact the maker with clear photos and the model identification. Replace only the parts it recommends. After a permitted repair, practice normal opening and full locking without the animal present, including a gentle check that the door stays engaged.
Verify extensions and connector inserts
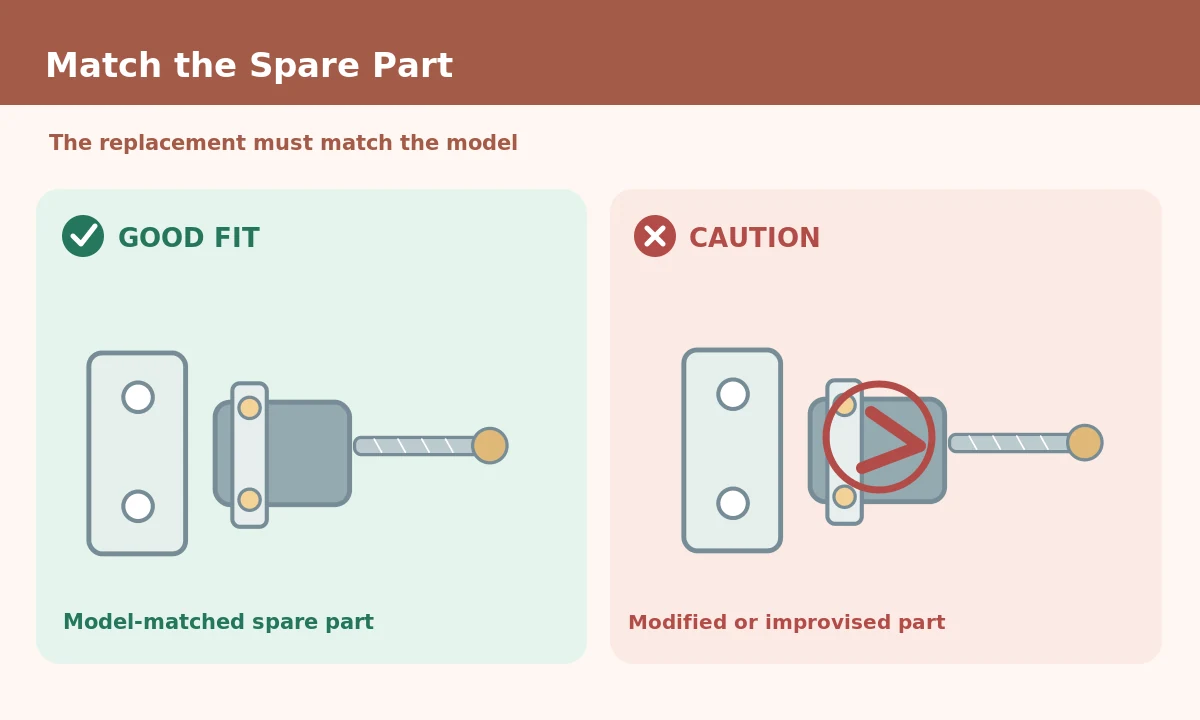
An extension may use plastic plugs, metal rods, latch-side inserts, or a special orientation. A similar diameter does not make these pieces interchangeable. Check manufacturer compatibility and the approved number and order of extension panels. A missing connector at either the top or bottom creates a weak joint. If the manufacturer no longer sells the proper component, consider replacing the gate or using a different approved configuration. Never use tape or glued-on tabs as a load-bearing fix.
Do not rely on unlisted universal kits
A kit advertised as universal may not reflect your particular gate’s thread size, locking geometry, or mounting requirements. Compare every item to the manufacturer’s supported part list before purchase. An oversized wall pad may look more stable but change where pressure reaches the wall; an undersized spindle may not hold the approved width. Avoid modifying holes in the frame to make a third-party component fit. The cost of the correct hardware is part of the gate’s lifetime expense, and a discontinued model may require complete replacement.
Clean without damaging moving mechanisms
Before fitting a replacement, remove loose grit and hair with a dry cloth or soft brush as permitted. Avoid soaking spring housings, using strong chemical solvents on plastic, or applying oil where the manufacturer does not recommend it. Check for rust on exposed metal and cracks around screw bosses. Do not scrape or sand away a damaged latch catch to make a new piece fit. If corrosion reaches a structural part, the frame itself may no longer be reliable even after a small replacement.
Reinstall and check the complete gate
Finish a repair only after the full gate passes its model-specific setup and operation checks. Confirm all supplied fasteners are present, posts line up, joints hold securely, and the latch closes as intended. Test the door on both approaches with no dog present and inspect for new pinch points or protruding screws. Watch for the frame shifting during repeated ordinary openings. If a person must lift, slam, or brace the gate to latch it, troubleshoot using the manufacturer’s support instructions. Do not leave a pet behind a gate that people cannot close reliably.

Know when replacement is wiser
Replace the whole gate if the frame bends, structural welds or bars crack, essential parts disappear from the manufacturer catalog, or the mounting surface cannot safely support the design. Also reconsider a gate that no longer suits the dog’s size, strength, or behavior. A correct new spindle cannot compensate for an adult dog that now climbs over an undersized puppy barrier. Keep the new product’s manual and label accessible, and choose a design with obtainable replacement parts when comparing options. Safe separation relies on the entire system, not one shiny component.
How We Research
For this guide, HubPet compared animal-welfare advice on pet gate replacement parts with documented mounting and part-compatibility guidance. We distinguish general safety principles from exact product specifications, which should always come from the relevant manufacturer manual. We reviewed these references on November 1, 2026. For HubPet’s editorial approach, see About HubPet.
Sources
Carlson Pet Products — Replacement Hardware Box. See the original source for its stated scope, limitations, and current model instructions.
North States MyPet — Pet Gate Installation FAQs. See the original source for its stated scope, limitations, and current model instructions.
Cardinal Gates — Gate Installation Guides. See the original source for its stated scope, limitations, and current model instructions.
No. Threading, end pads, and adjustment ranges vary. Match the exact gate model and manufacturer-approved component.
Do not improvise load-bearing contact parts. Use the wall cups or mounting system specified for your gate.
No. Cracked structural or moving parts need approved replacement or a new gate, not a household adhesive repair.
Contact the manufacturer and stop relying on the damaged gate. Replacing the complete barrier is often safer.
With pets away, confirm mounting alignment and full latch engagement through repeated normal opening and closing.